Easter 2016

We don’t break up officially for any holidays.  If we fancy some time off, we take it.  This is one of the beauties of Home Education, however we do learn a bit about all of the various holidays we would be taking if we were at school.

This includes learning about the proper meaning of them, why we celebrate them and doing various crafts.

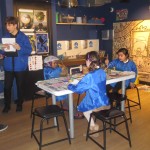
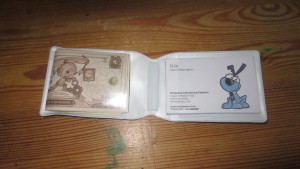
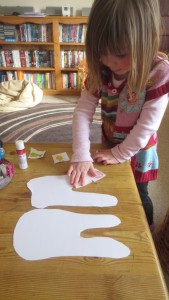
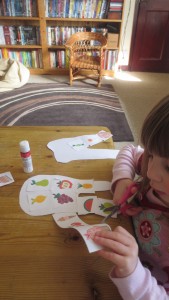
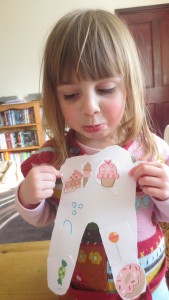
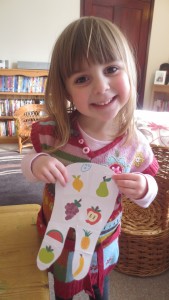
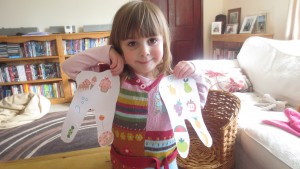
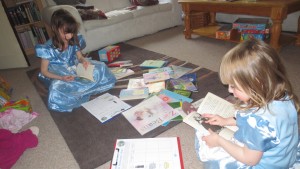
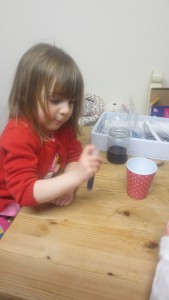
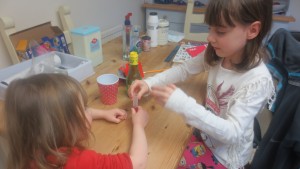
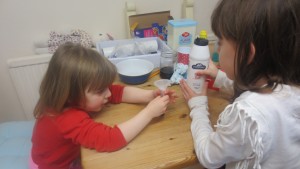
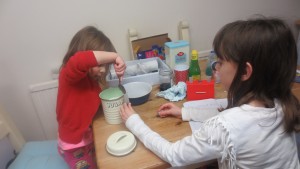
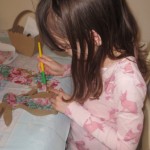
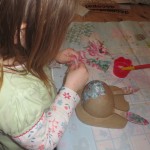
One of the Easter crafts we did was some decoupage. I’d never done it before and we saw it mentioned online, so we popped in to our local Hobbycraft to see at what they had available.  The girls each chose a basket and a rabbit, which were cheap at £2 and some papers (which varied between £2 and £3.80 for 3.

We just ripped the paper into smaller pieces, watered down our pva glue and off they went.

It’s great fun, it kept the girls occupied for ages and as it doesn’t really matter how much glue you get on it, little ones can do it independently.

IMG_7548 IMG_7549 IMG_7553 IMG_7552

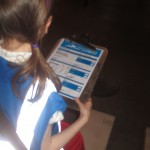
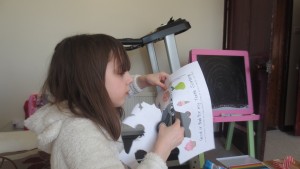
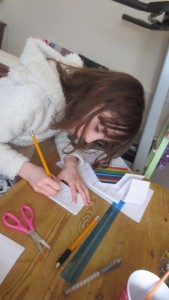
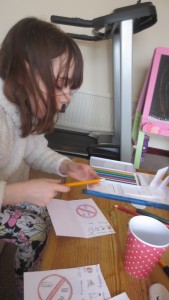
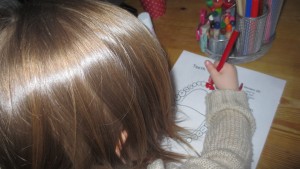
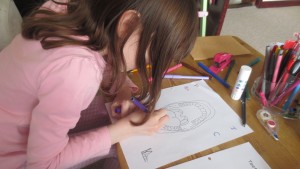
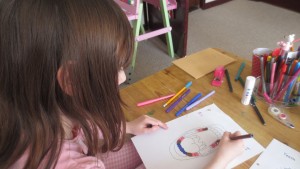
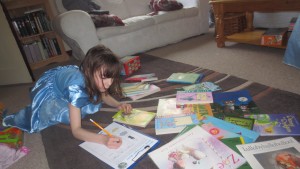
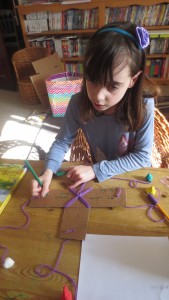
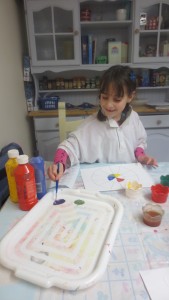
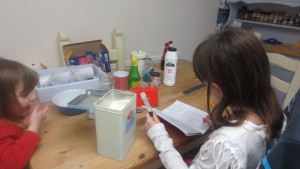
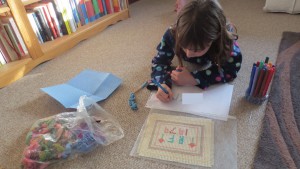
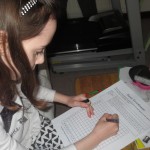
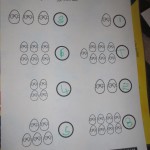
Elsa did a co-ordinates sheet which we found on Activity Village, she had to place the co-ordinates in the correct squares to produce an Easter picture.  She thought this was great fun.

IMG_7577 IMG_7578 IMG_7583

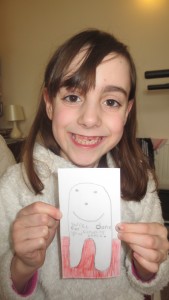
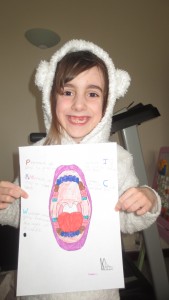
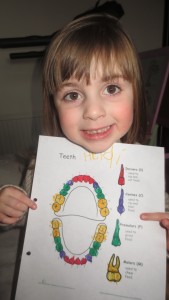
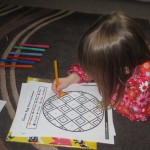
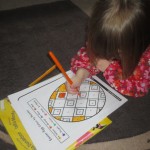
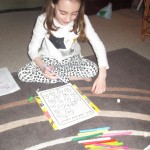
I found a great little Easter Maths booklet on Twinkl.  🙂 Anna decided she’d like to start on that, she started with her least favourite pastime of colouring.  I don’t understand why she doesn’t enjoy it, she’s really good at it.

IMG_7575 IMG_7576

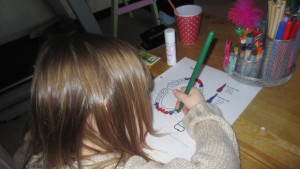
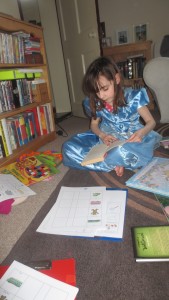
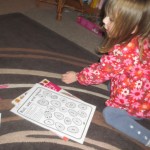
After that she wanted to do a number sheet.  She’s really doing well with her number work.

IMG_7580 IMG_7582

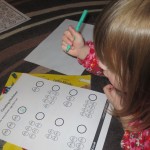
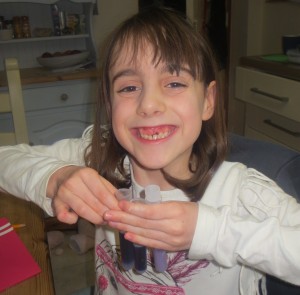
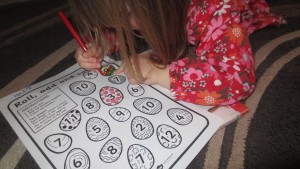
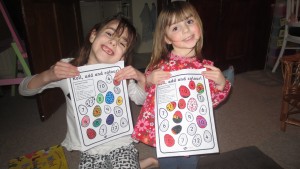
There was a great game in the maths booklets which we all played together.  You had to throw 2 dice and add them together and then colour the relevant egg.  The one with the most eggs coloured at the end of the game (in our case 10 throws each) won.  It was a bit easy for Elsa, but we all enjoyed it and Anna won. 🙂

IMG_7584 IMG_7585  IMG_7586 IMG_7588

What a busy Easter. 🙂

KidZania London visit

On Tuesday we went to London to go to kidZania.  KidZania is a City for 4 – 14 year olds with more than 60 real life role play adventures.  It is in the Westfield Shopping Centre.

IMG_7468

When you go in you get given 50 kidzos, which is money you can spend around kidZania’s City and you also get a bracelet that links to your parent so you can’t get lost, as they can’t go into the activities with you.

WP_20160315_002

First I made some chocolate, the lady told us where the coco beans grow and we even got to feel them. My favourite part was when I put my chocolate on the vibrating table.

IMG_7470 IMG_7474

I went to the art place next and painted a picture of our garden.

IMG_7478 IMG_7481

So far I had spent Kidzos, so I went to earn some at the hairdressers, that was fun.

IMG_7485 IMG_7486

Next I made an Eat Natural bar, which was yummy. I made it with apricots, raisons, rice, honey and chocolate.

IMG_7488 IMG_7491 IMG_7496

I made a stop start animation film which was fun and I got paid to do it.

IMG_7497 IMG_7498

Next I was an estate agent which I got paid to do. I had to measure a house and put in details. I also got business cards and a wallet.

IMG_7503 IMG_7505 IMG_7521 business card

After that, I was a post girl where I had to deliver some parcels which I got paid to do.

IMG_7506 IMG_7508 IMG_7509

The last thing I did was H and M fashion where I got to dress-up in different outfits, I put on a hat, skirt and t shirt.

IMG_7510 IMG_7512 IMG_7515 IMG_7517

I got a passport which means next time we go I get more money when I go in, because they stamp it when I go in to a room.

IMG_7520 IMG_7595

I liked it so much that we are going back again in September 2016.


Human Body – Teeth

Our new topic is the human body which we will be starting after the Easter holidays, but as we had been to the dentist this week, I thought it might be a good idea to learn about teeth while the visit was still fresh in the girls minds.

We talked about the number of teeth we had and the girls counted each others teeth while using a torch to look at the different types of teeth.

IMG_7396 IMG_7397

We talked about which foods were good for your teeth and which ones weren’t, then I printed off some pages of foods and drew some teeth for the girls to decide which foods should go where. Anna drew a happy tooth and a sad face on her teeth. 🙂

IMG_7403 IMG_7406

IMG_7410 IMG_7411

IMG_7409

Elsa designed her foods into sad and happy faces on her teeth. 🙂

IMG_7408 IMG_7416

IMG_7415 IMG_7413

I asked Elsa to create a leaflet to help people to look after their teeth.  She decided to explain what were good and bad things to eat and then described how to brush your teeth properly.  She was really pleased with how it came out (and so was I), clever little thing. 🙂

IMG_7398 IMG_7399

IMG_7400 IMG_7402 IMG_7401

We chatted about the various adult teeth and the jobs they did.  Then I asked the girls to colour in the different teeth different colours.  Elsa had to write her own text about the teeth and we discussed the use (or not) of wisdom teeth.

IMG_7458 IMG_7461 IMG_7538 IMG_7539

IMG_7541 IMG_7463

What an interesting start our Human Body topic. 🙂


World Book Day 2016

I was thinking that it would be quite difficult to celebrate world book day.  Elsa tends not to really enjoy reading unless it’s Tom Gates :).  Roll on May when the next one is out. 🙂

Anyway, being a member of the fabulous Twinkl website, they had emailed me some world book day ideas.  I asked the girls what they would like to do and they said the scavenger hunt, so they got dressed up as a character from a book, we grabbed some books off their bookcases and got started.

IMG_7364 IMG_7366

The idea was to find the page in a book on which a certain item off the list was on.  I printed off the same sheet for both girls but suggested they used different age appropriate books.

For instance one of the items to find was a bus.  Elsa found it written somewhere in Harry Potter and the Prisoner of Azkerban.  Anna found a picture of one in a Zoe and Beans book.

IMG_7377

IMG_7376 IMG_7374 IMG_7373 IMG_7368

This was one of the things we did on World Book Day, it was a fun little exercise and both girls enjoyed it.


Roman Roads

One of the things I love most about home educating is the fact we can be really spontaneous.  So when we were finishing off our Romans topic this week we were learning about why, where and how they built their roads.

During our research we found out they used a groma which was a Roman surveying instrument, to help them build them in straight lines.

Spontaneous head on I asked ‘would you like to make a groma Elsa’?

‘Yes please’ came the excited reply (anything to get out of writing). 🙂

So we discussed what we would need to make one and collected everything together.

Firstly, Elsa created her cross beams (out of cardboard) and used wool to fix them together.  She then made a hole at the end of each of the pieces of card.

IMG_7379 IMG_7380 IMG_7381 IMG_7382

She put a piece of wool at through the holes in the card to hang the weights off.  She created 4 weights out of clay and took bits off them to ensure it was straight.

IMG_7383 IMG_7384 IMG_7385 IMG_7386 IMG_7387

Using her knowledge of Roman numerals she wrote the date 🙂

IMG_7389

I’m not sure if this is exactly how you used it in Roman times, however Elsa put it up high so she could see when the opposite weights were in a straight line.

IMG_7388

This was great fun to make and we used it to see if it worked.  It did 🙂


Burgh Castle Field Trip

Our recent topic is Romans and we have done a variety of subjects on it including Boudicca, mosaics, Hadrian’s Wall and Gods.

IMG_7284 IMG_7285

To find out about Roman buildings we went to Burgh Castle. Mummy made a field trip sheet to fill in, but Anna didn’t do it so Nanny did it for her.

The sheet asked us to see what it was made of and I thought it was made of stone, clay, brick and flint.

I took some pictures of the layers in the wall.

Layers of the wall IMG_7294 Flint in the wall

Next we had to look for the bastions. A bastion is there to help defend the castle. We saw 6 bastions but there would have been more.

bastion outer

These are my pictures of the different bastions we could see.

A collapsed bastion Bastion 2 Bastion 1 Castle wall Bastion join

These are holes in the walls where the bricks have fallen out and they are not supposed to be there. You could see a bastion through one of the holes. Can you see which one?

 hole in the wall 3 hole in the wall 2 hole in the wall 1

I think this hole might be something to hold a roof up with a wood pillar. There were 7 and they were square so looked like they should be there.

holes for pillars

These walls have either fallen down or are wonky.

Collapsed wall view of the wall

We learnt a lot and had fun exploring!

IMG_7331 IMG_7315 IMG_7319

IMG_7332a

Photo Scavenger Hunt #1

This time of year it’s hard to get the girls to go outside as the weather is cold and unpredictable, with it raining one minute, sleeting the next and sunny the next.

I thought we’d go on a scavenger hunt around where we live which is a beautiful spot in the English countryside.  But instead of coming home with stones, feathers and leaves, they would take photos.

So I created a photo scavenger hunt sheet and each armed with a camera off we went.

This was fun as it got the girls looking at their surrounding as we wondered home from our local village.

Learning About Colours and Shades

I thought it might be a nice idea to teach Anna about the principles of colour in that you really only need 3 colours to make a variety of different ones.

I created 2 different types of colour wheels (well Anna’s wasn’t a wheel at all, but still).

We chatted about the primary colours, mixing colours and what happens if you add more or less of one colour.

The girls then set about making their colour charts.

IMG_7180 IMG_7181

This was a good exercise for Elsa as it showed her that to make darker or lighter shades all she had to do was add more or less of one of the primary colours.

IMG_7182 IMG_7183

Finished chart/wheel.

IMG_7185 IMG_7186

This was a fun and useful activity for both girls. 🙂

Science – PH Indicators

For Christmas, one of the fantastic presents Elsa received was a kitchen chemistry set.  She has been nagging me to try it so this week we did the first experiment which was using a natural indicator to find out whether liquids and powders are acid, alkaline or neutral.

Firstly, to make the natural indicator we had to cut and boil up some red cabbage.  We strained it to keep the juice and left it to cool.

IMG_7138

Next, while that was cooling we discussed what we would like to test.  Then she wrote a chart which listed them, included a ‘my guess’ column and a results column.  We chatted about the principles of acids and alkalis so she was able to make a more educated guess.

IMG_7139

After collecting Anna from nursery, we started our tests.  Firstly the girls had to put a bit of the cabbage juice in some test tubes (indicator) and to each tube they added some of the item they wanted to test.

IMG_7143

Results

Vinegar

After adding a few drops of the vinegar to the tube the indicator went immediately pink.  This was a good one to start because the result was so quick and obvious, the girls got excited.

IMG_7145

Water

Anna added water to another tube of the indicator and it stayed purple, which meant it was a neutral liquid.

IMG_7146 IMG_7147

Lemon Juice

A few drops of lemon juice to the indicator and it went pink.

IMG_7148

Results of the tubes in order vinegar, water then lemon juice.

IMG_7149

Dishwasher liquid

Adding a few drops of the dishwasher liquid and it went bright pink.

Hand Soap

Adding a bit of hand soap to the cabbage water and it went dark pink.

Baking Powder

Not only did adding baking powder to the indicator cause it to stay purple, it fizzed over the top which caused a few giggles.

In order of results – dishwasher liquid, hand soap and baking powder.

IMG_7152

Salt

Elsa added some salt to the indicator and it stayed purple,

IMG_7155

Sugar

Anna added some sugar to it and it also stayed purple.

IMG_7156

Flour

Adding flour to it changed the colour to light purple but still it stayed purple.

IMG_7157

Final three results salt, sugar and flour.

IMG_7158

We all enjoyed doing this even if we didn’t guess so well at the results. 🙂

Free Choice Fridays

Free choice Fridays are an idea I had.  Elsa does a lot I ask of her during the week.  She does choose her own topics though (this half term it’s the Romans)

Every day Elsa does a selection of the following, Maths, History, Science, English and Geography, which she enjoys and normally it’s only mornings.  In the afternoons we do things with Anna as she’s home from nursery, often related to what we’ve been doing in the mornings.

For instance, if Anna had been at nursery for the first morning after the Christmas holidays, Elsa and I would have learned about the Roman Empire and started our India geography topic, however she wasn’t so we did a Roman mosaic craft instead.

But as the title suggests, on Fridays Elsa is able to choose exactly what she wants to do.  Sometimes she chooses to continue with work we’ve been doing in the week because she’s finding it interesting.  Other weeks she chooses to do some drawings in her art book. which she can often spend hours doing that as it’s her favourite pastime. Until this week, that was all she’d chosen to do, but she’s becoming really detailed in her pictures and it’s really great for me to see her progressing and becoming more confident with her drawings.

IMG_7116 IMG_7118

She’s also drawn comic strips 🙂

IMG_7119

This is her favourite and most recent picture.

IMG_7120

Obviously it’s not just drawing she can do, she can do whatever she would like to.

When we started home educating, to give her some ideas, I’d shown her a cross stitch I’d made when I was at primary school.  She said she’d like to do one, and last Friday she spent some of the morning designing hers and choosing the coloured cottons she’d like to use.

cross stitch

I’ve got a feeling I know what her free choice Friday choice will be next week 🙂