Elsa has always been one for being creative and crafty. She loves drawing, painting, sticking, colouring etc. I knew that homeschooling her would give us the option to help her try new creative ideas.
Therefore, after we had a problem keeping the door to the Harry Potter study open properly I asked if she’d like to make a doorstop (I also needed to make one for another door – we live in an old house so what can I say).
“Yes, yes, yes please mummy”
Well, there was our answer.
We had a quick look online to see if we could find an easyISH one to have a go at making and we found this chicken one.
I wrote down the instructions and off we went to get the things we needed.
- Material
- Felt
- Stuffing (which is cheaper if you buy a cheap cushion and use the stuffing out of that as opposed to the ‘proper’ toy stuffing)
- Rice/cous cous for the weight
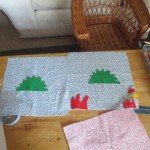
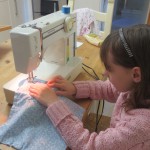
We started by cutting the parts of the chicken we needed from felt and then pinned them to one side of the material. We sewed the two wings on using a zig zag stitch (green wings on Elsa’s chicken). We then sewed the two parts together making sure we trapped all of the edge parts of the felt in the seam. We left the back seam so we could change the angle (watch the video 🙂 ) so that the chicken sat properly then left a gap so we could stuff it.
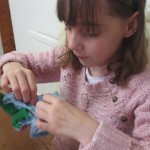
We then turned it right way round and put in the weight (bagged), and the stuffing. Finally we hand sewed the gap and added some eyes at the top.

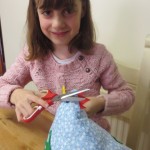
Tadah. How happy does she look?

The finished articles.
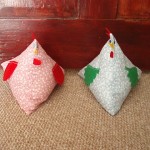
The instructions by Debbie were so clear on the video that this worked really well. Elsa did a lot of it without too much help.