Our Wildlife Garden – a work in progress

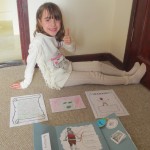
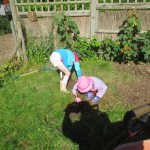
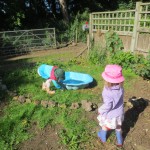
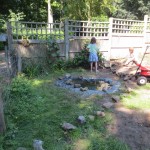
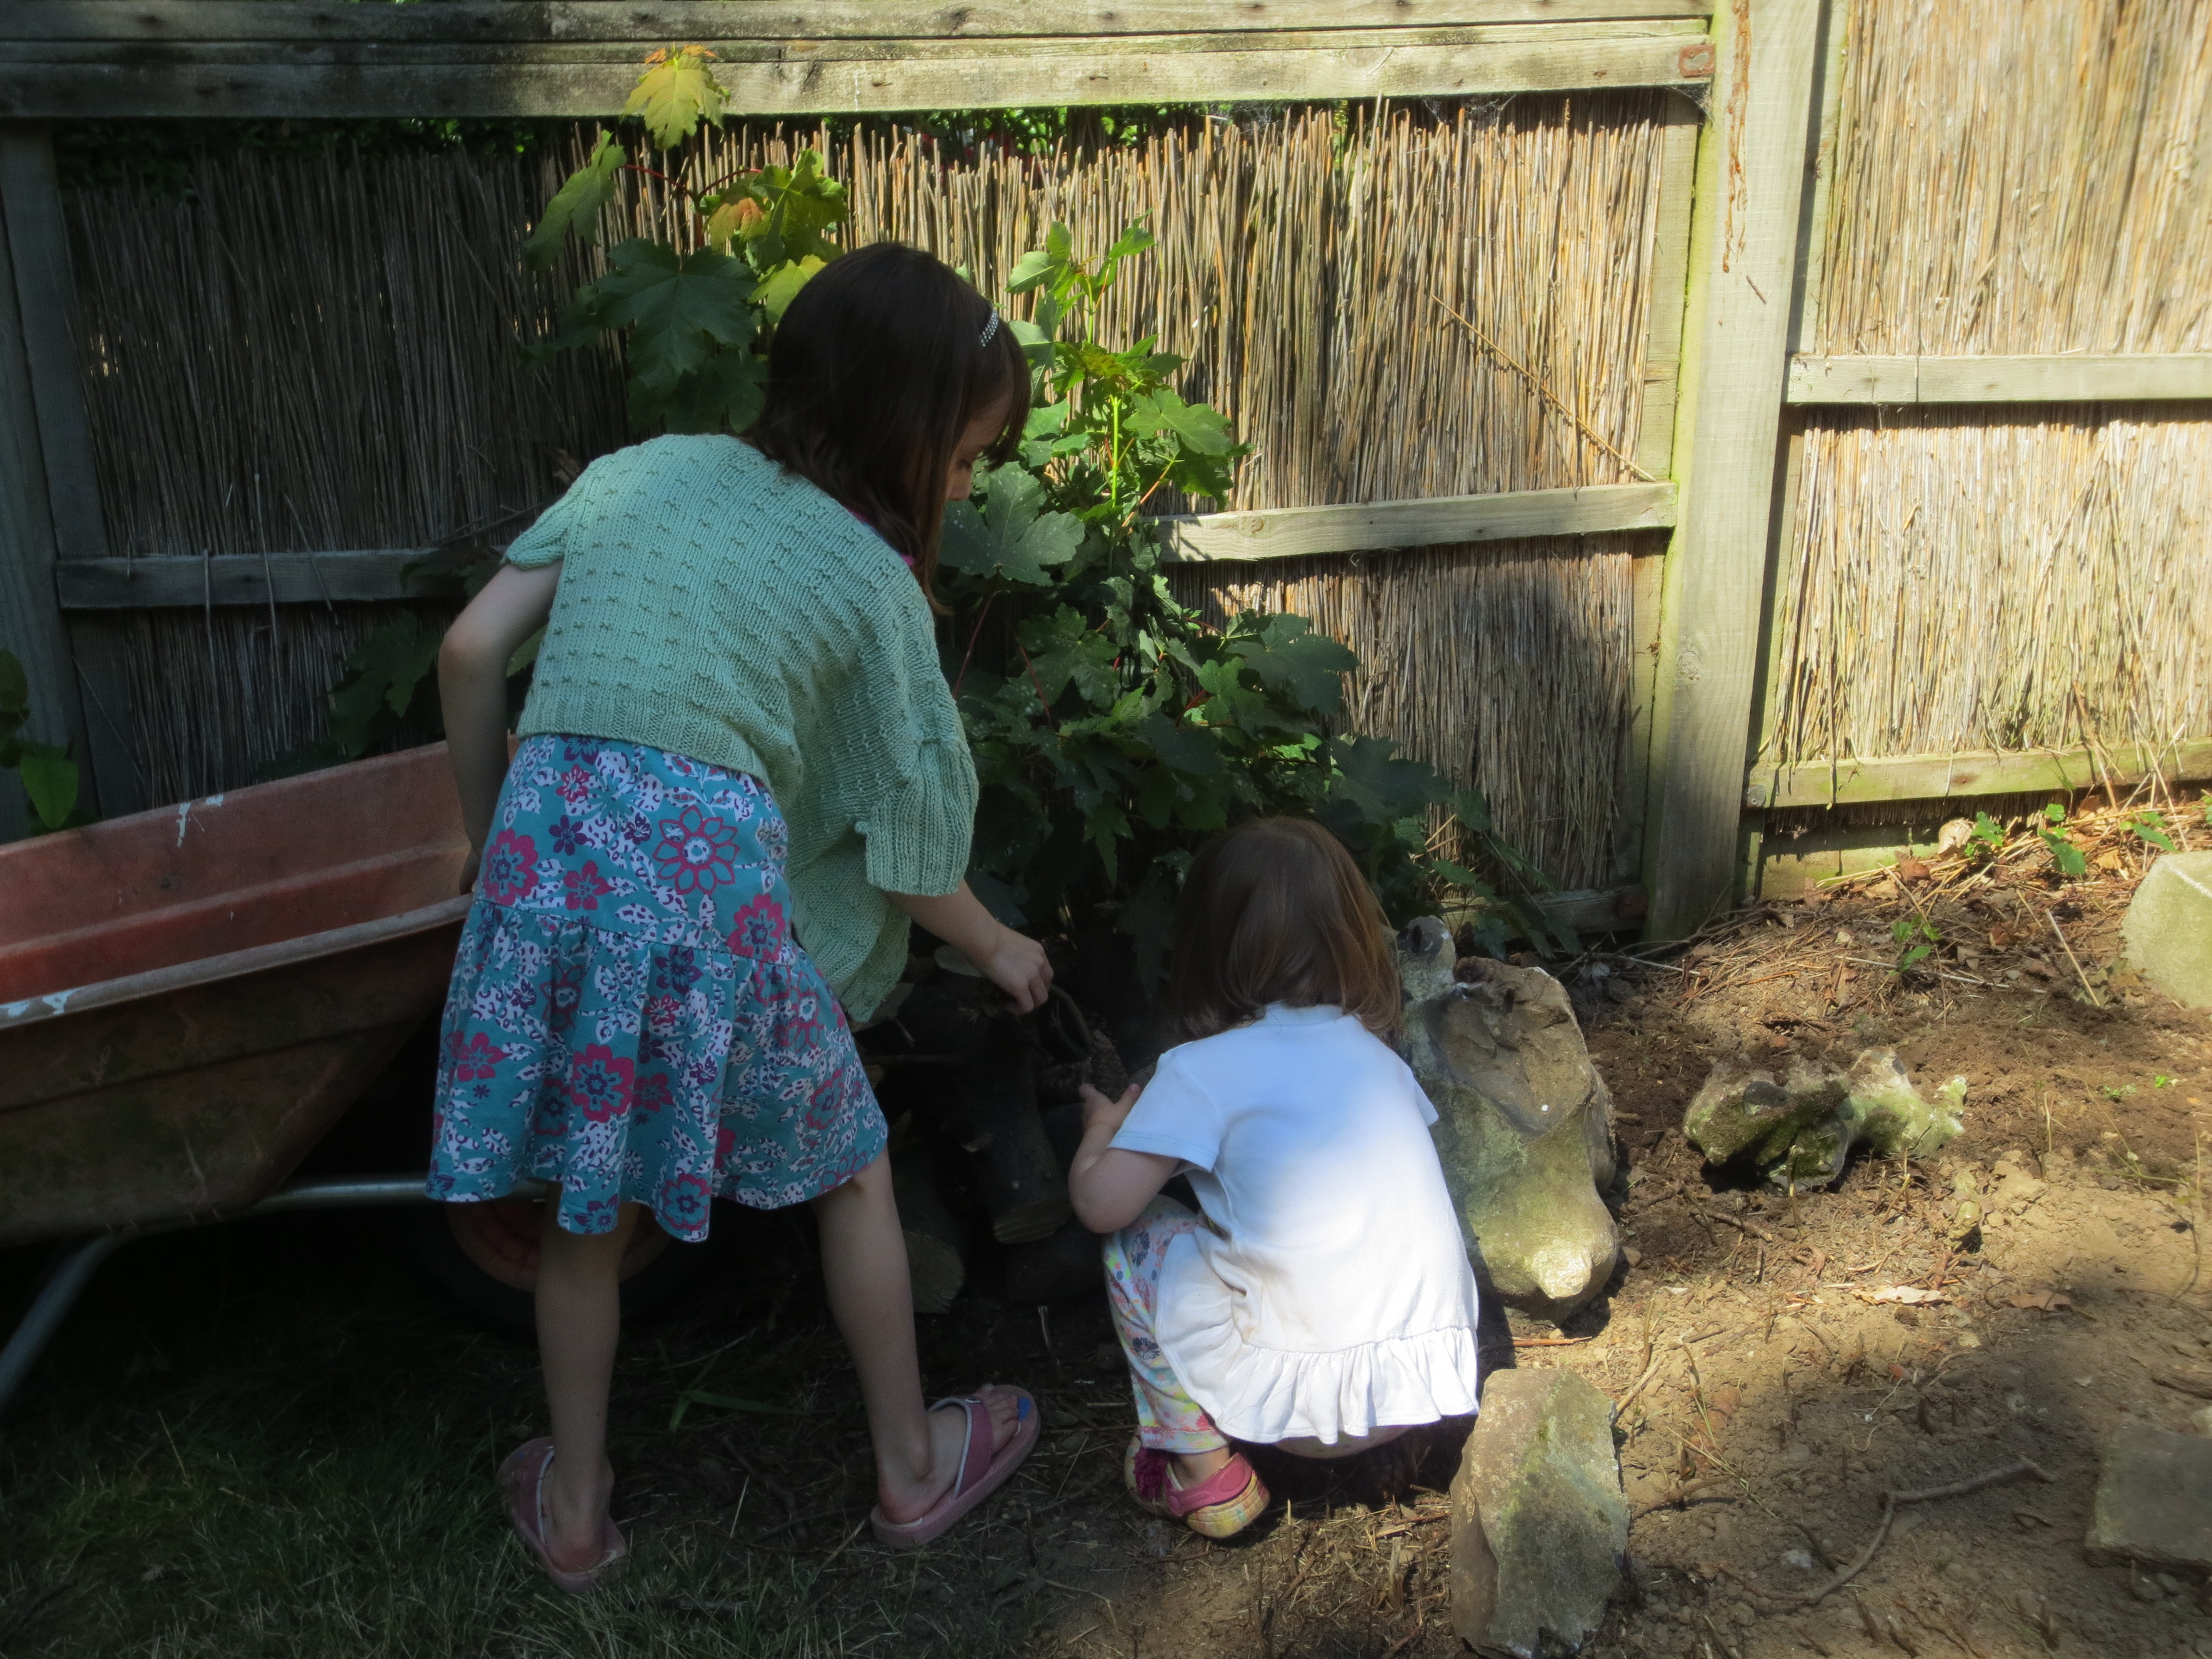
I thought it would be nice to encourage the children to create a wildlife garden so we could watch what bugs, animals and birds use it over the various seasons.  We picked a corner of the garden which would be suitable and got to work (and hard work it was)

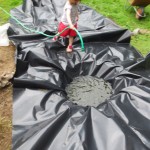
Firstly, we cleared the area of nettles, big weeds, bricks and rubbish.  Then dug a hole to fit our pond (which is half of an old sandpit).


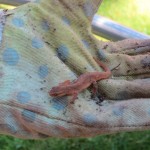
While we were digging we found this little fellow 🙂 Wildlife count 1.

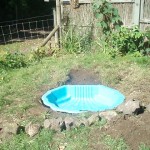
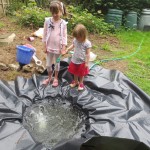
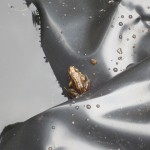
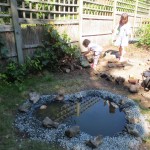
We then put in some pond liner and filled it with water.  We also had a little visitor. (wildlife count 2) 🙂

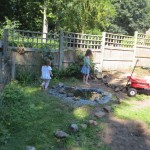
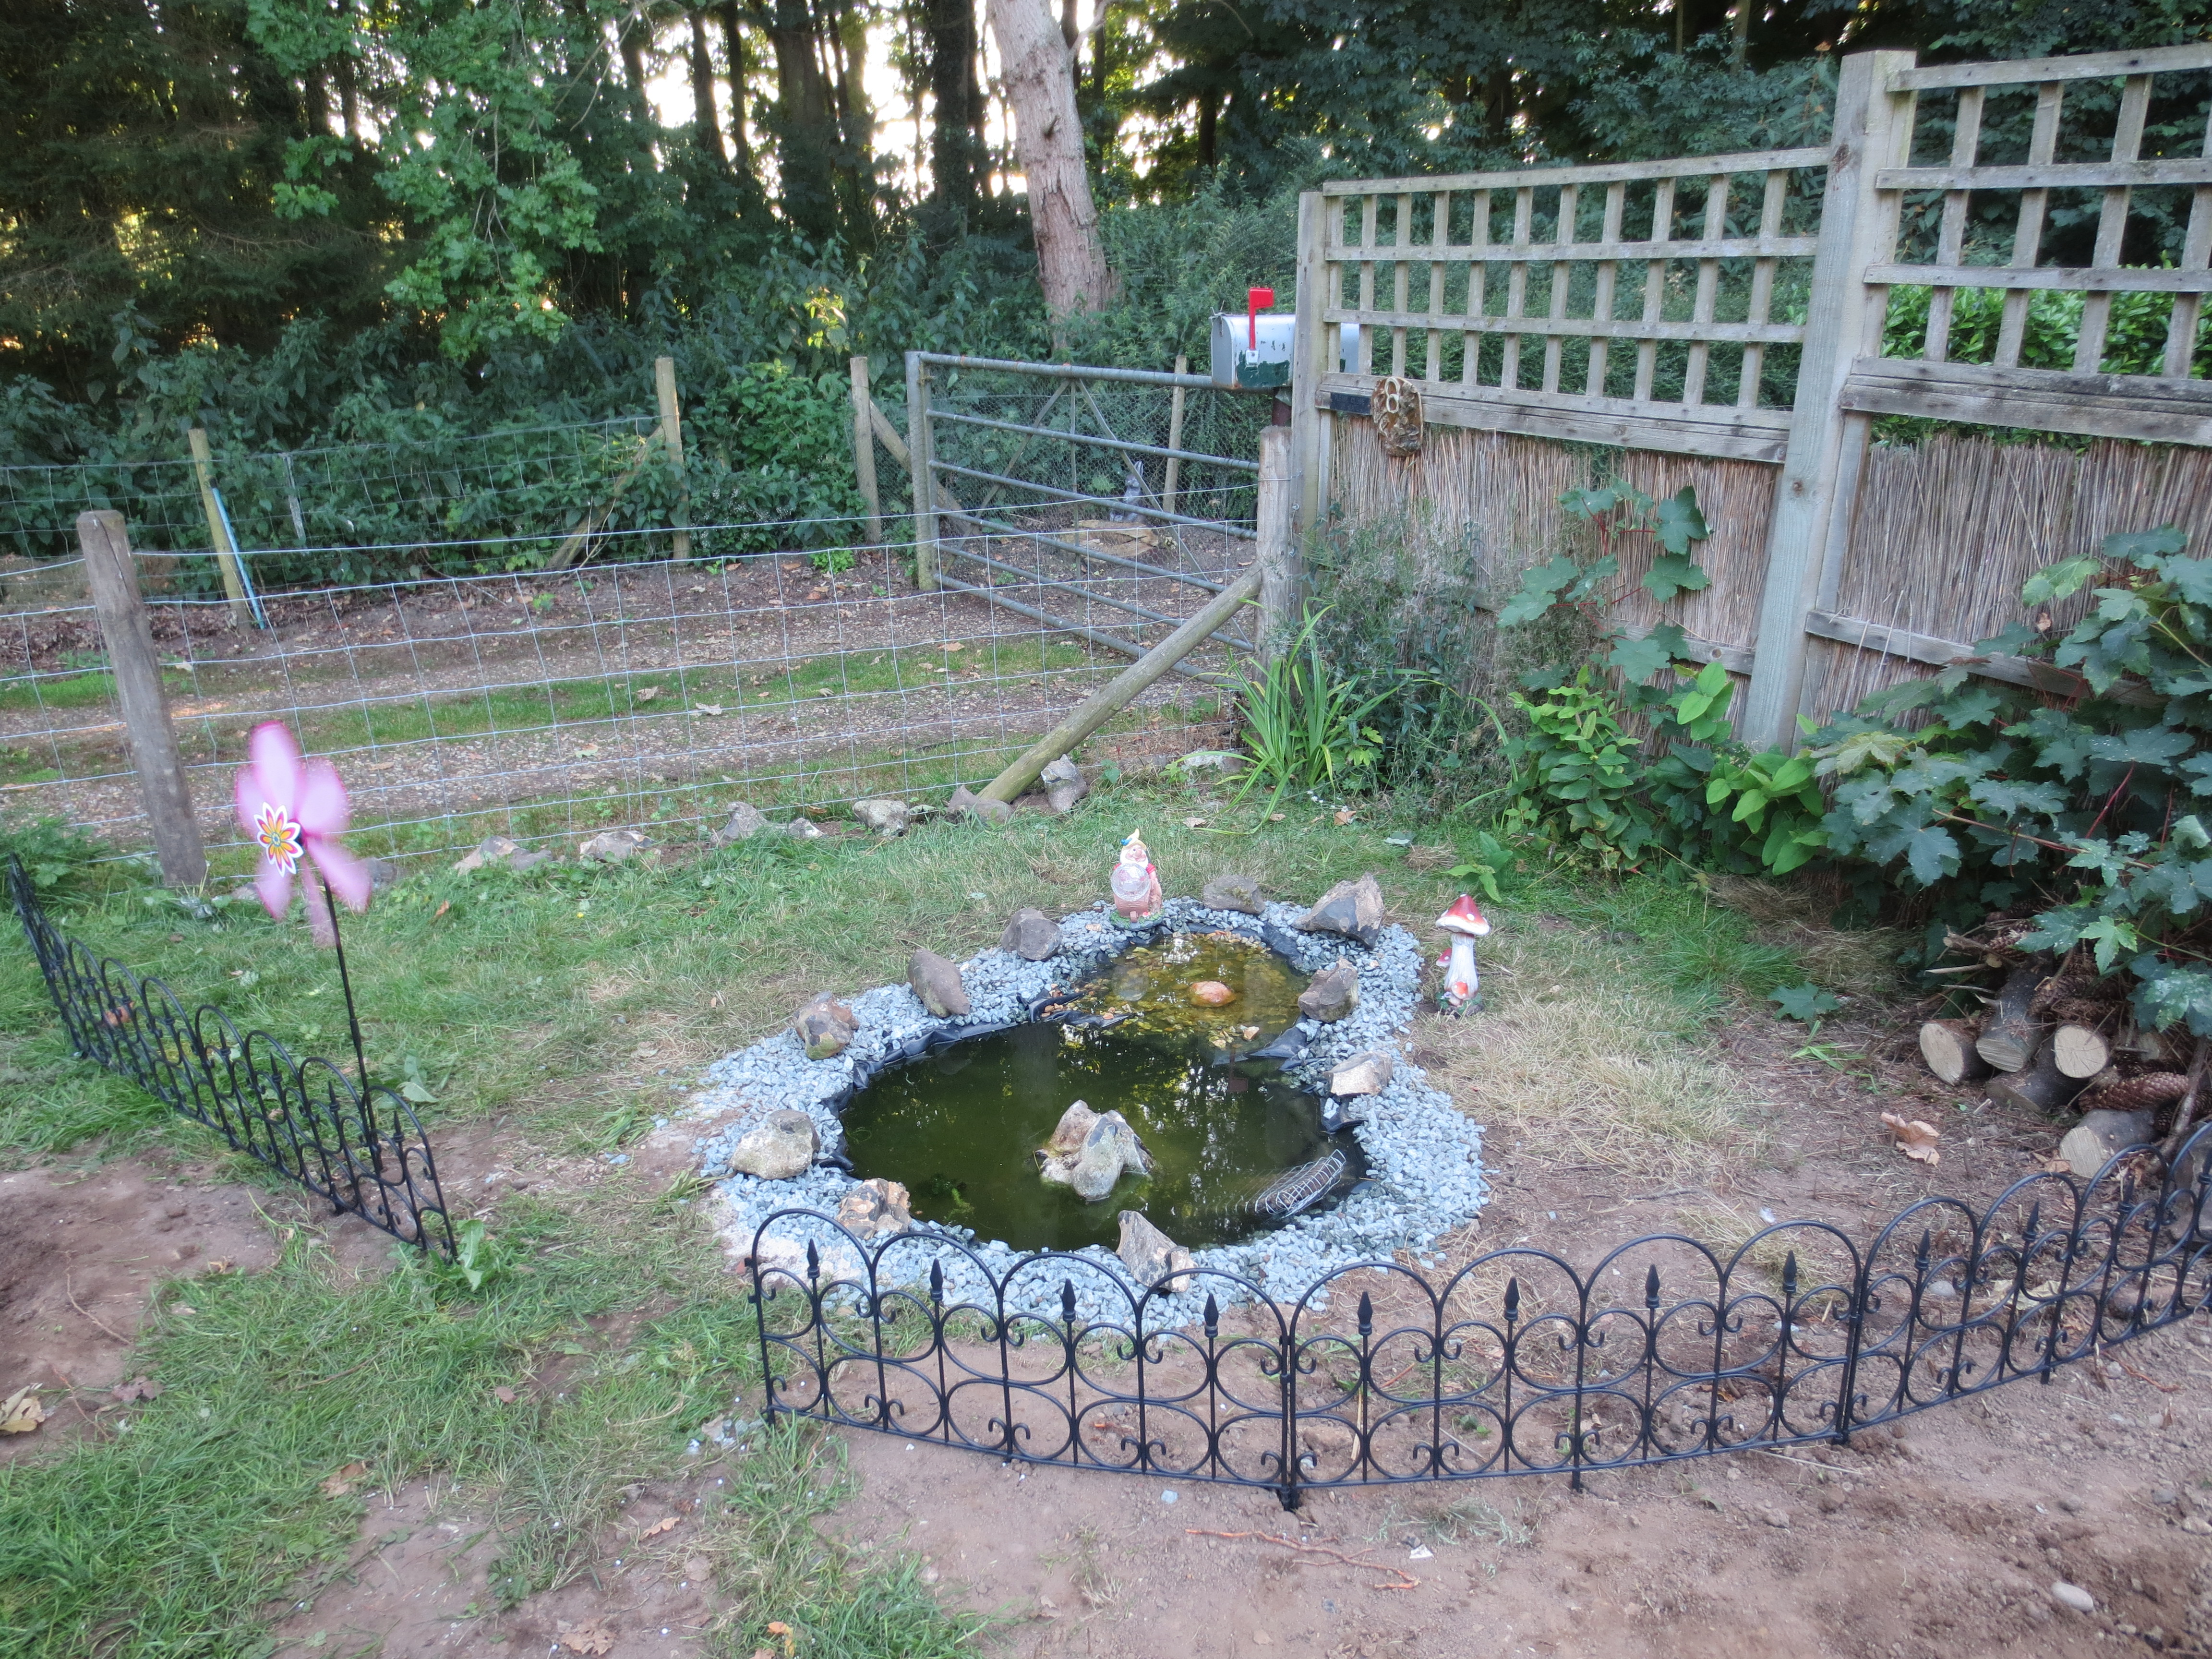
We then cut off the excess pond liner and placed some shingle around it.  Then we placed some big stones around the edge to give it a bit of a border and a huge stone in the actual pond.

IMG_5170  

We then made a little ladder for the frogs to get out (as seen in a library book).

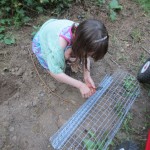
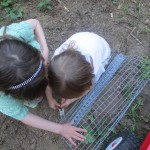
We made a bug hotel out of old logs.

IMG_5172 IMG_5173

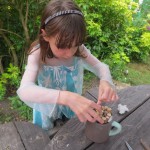
We made a bee hotel out of bamboo and a little watering can plant pot we bought.

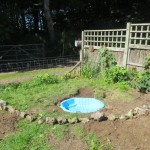
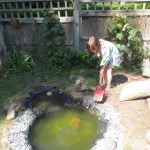
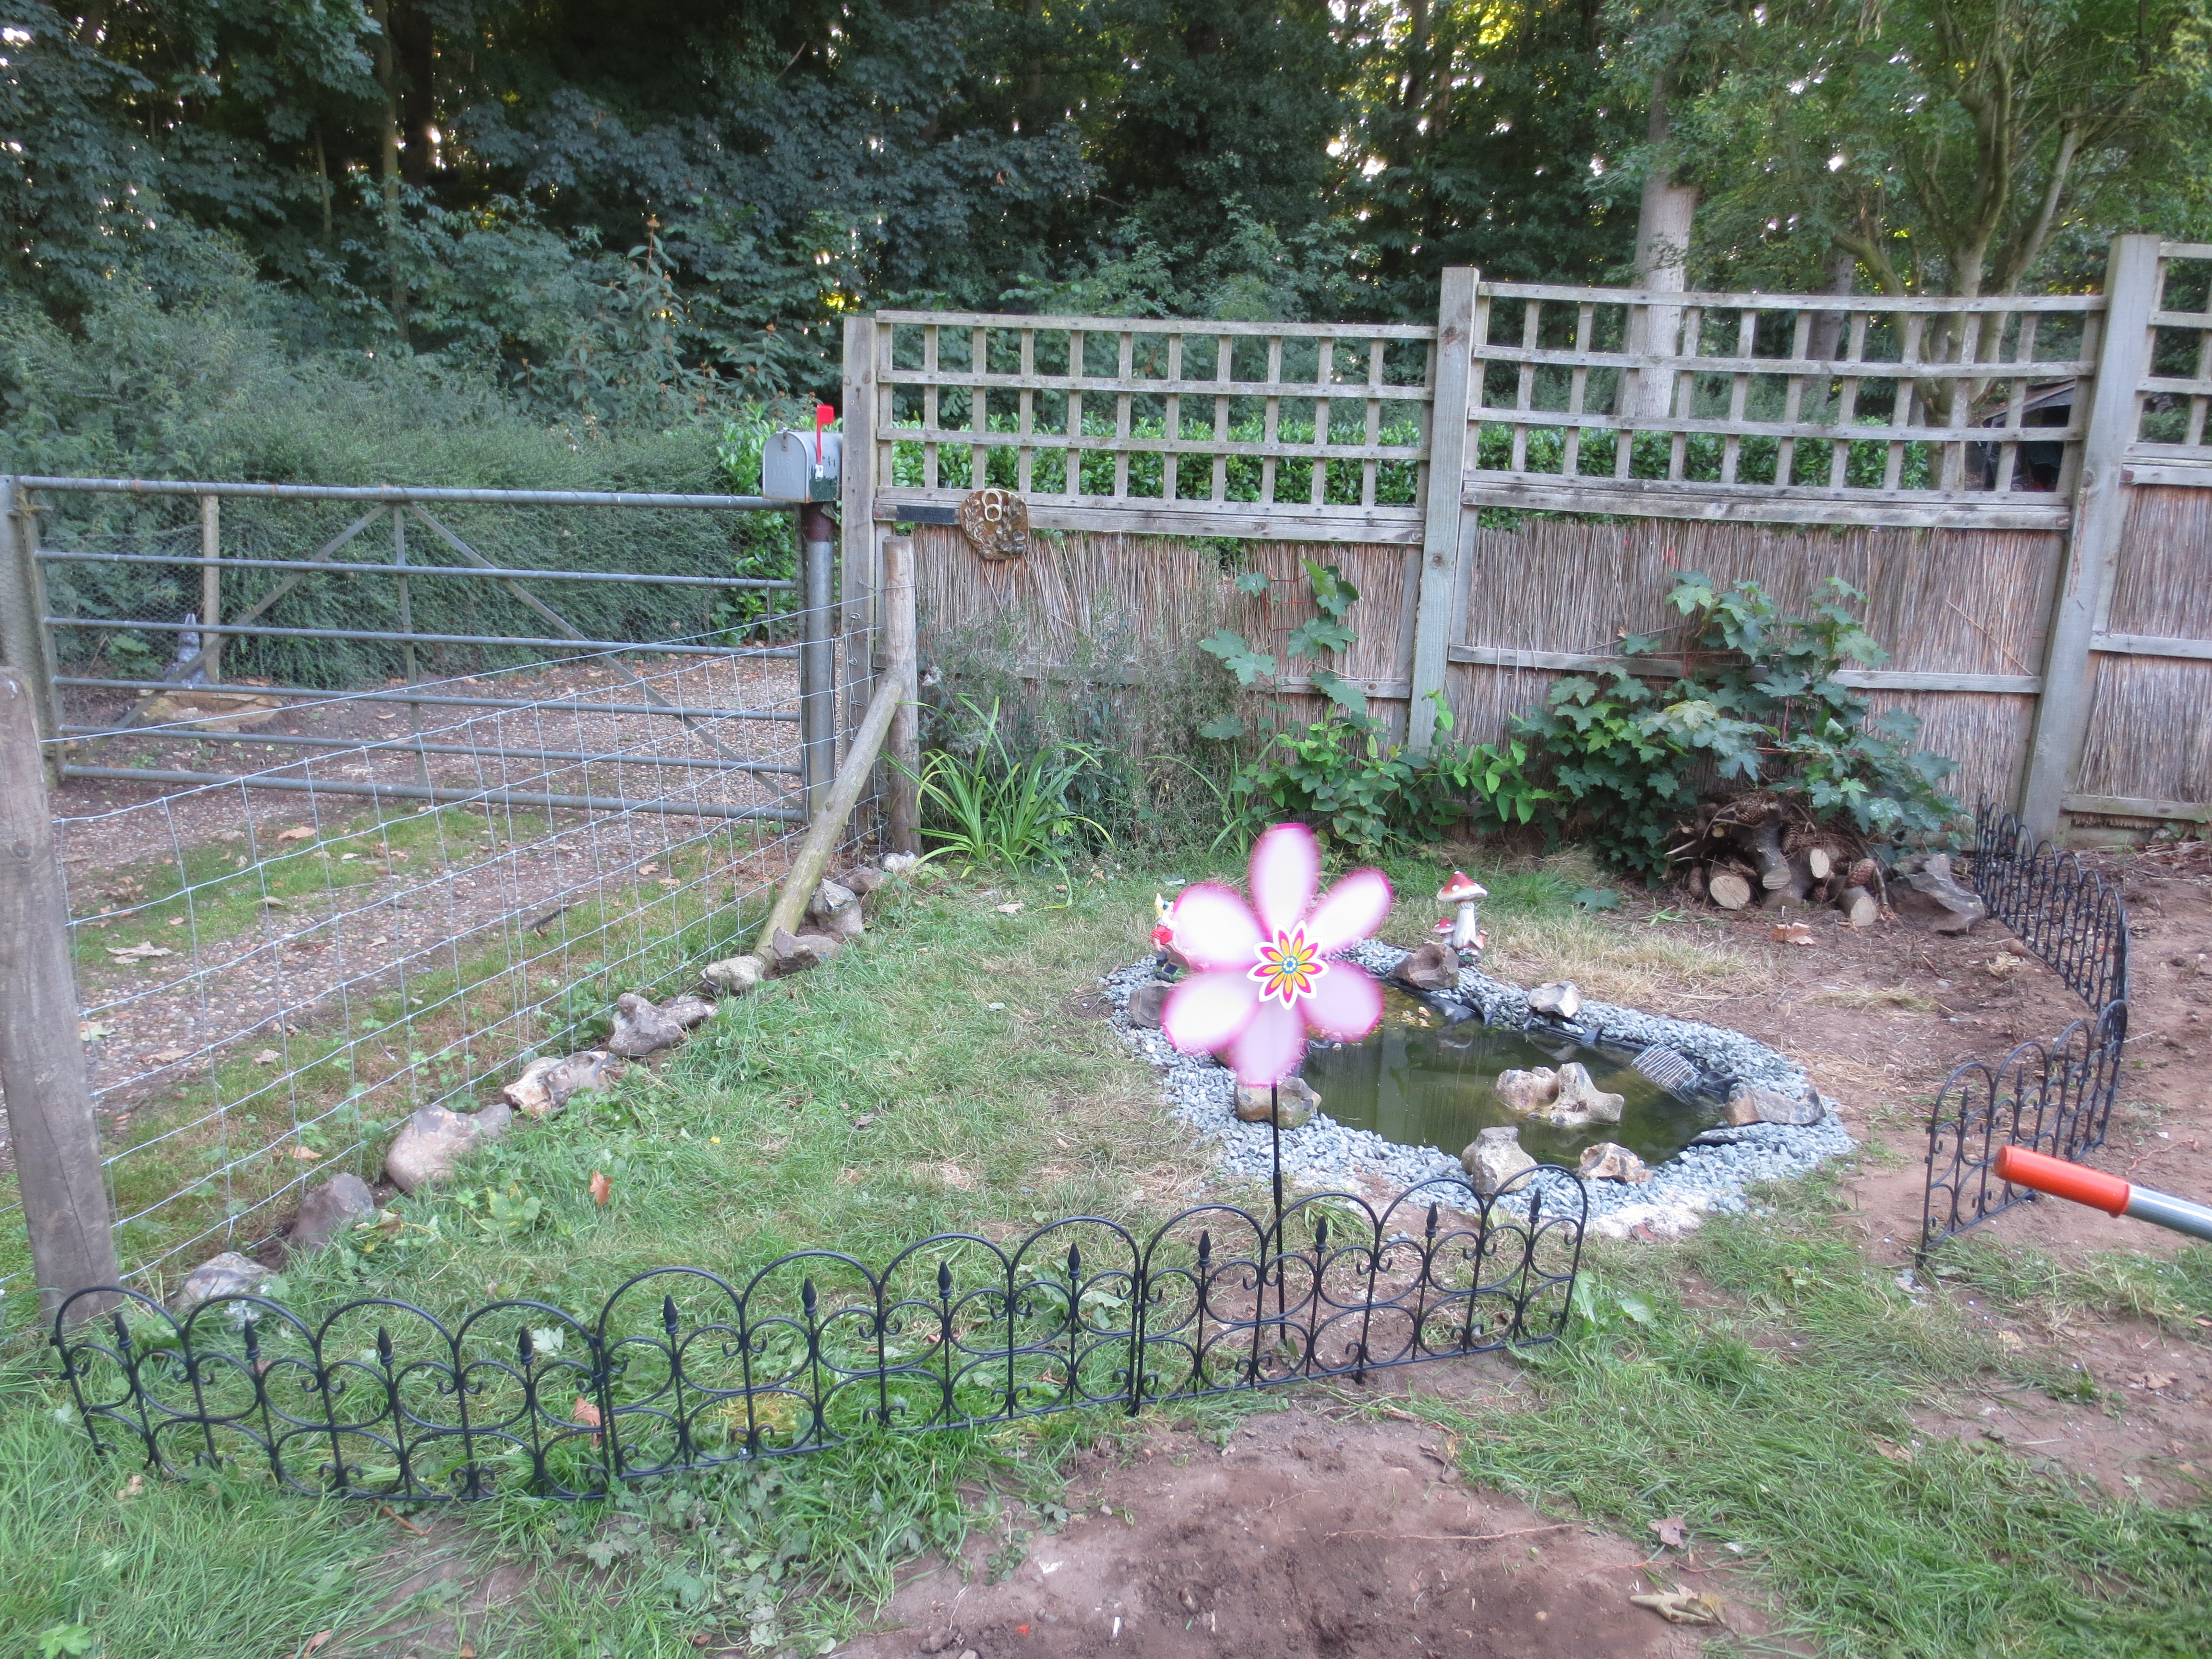
Finally we added a little fence around it and added some pond plants, a gnome, a flower windmill and toadstool.

IMG_5178 IMG_5179 IMG_5180   WP_000732

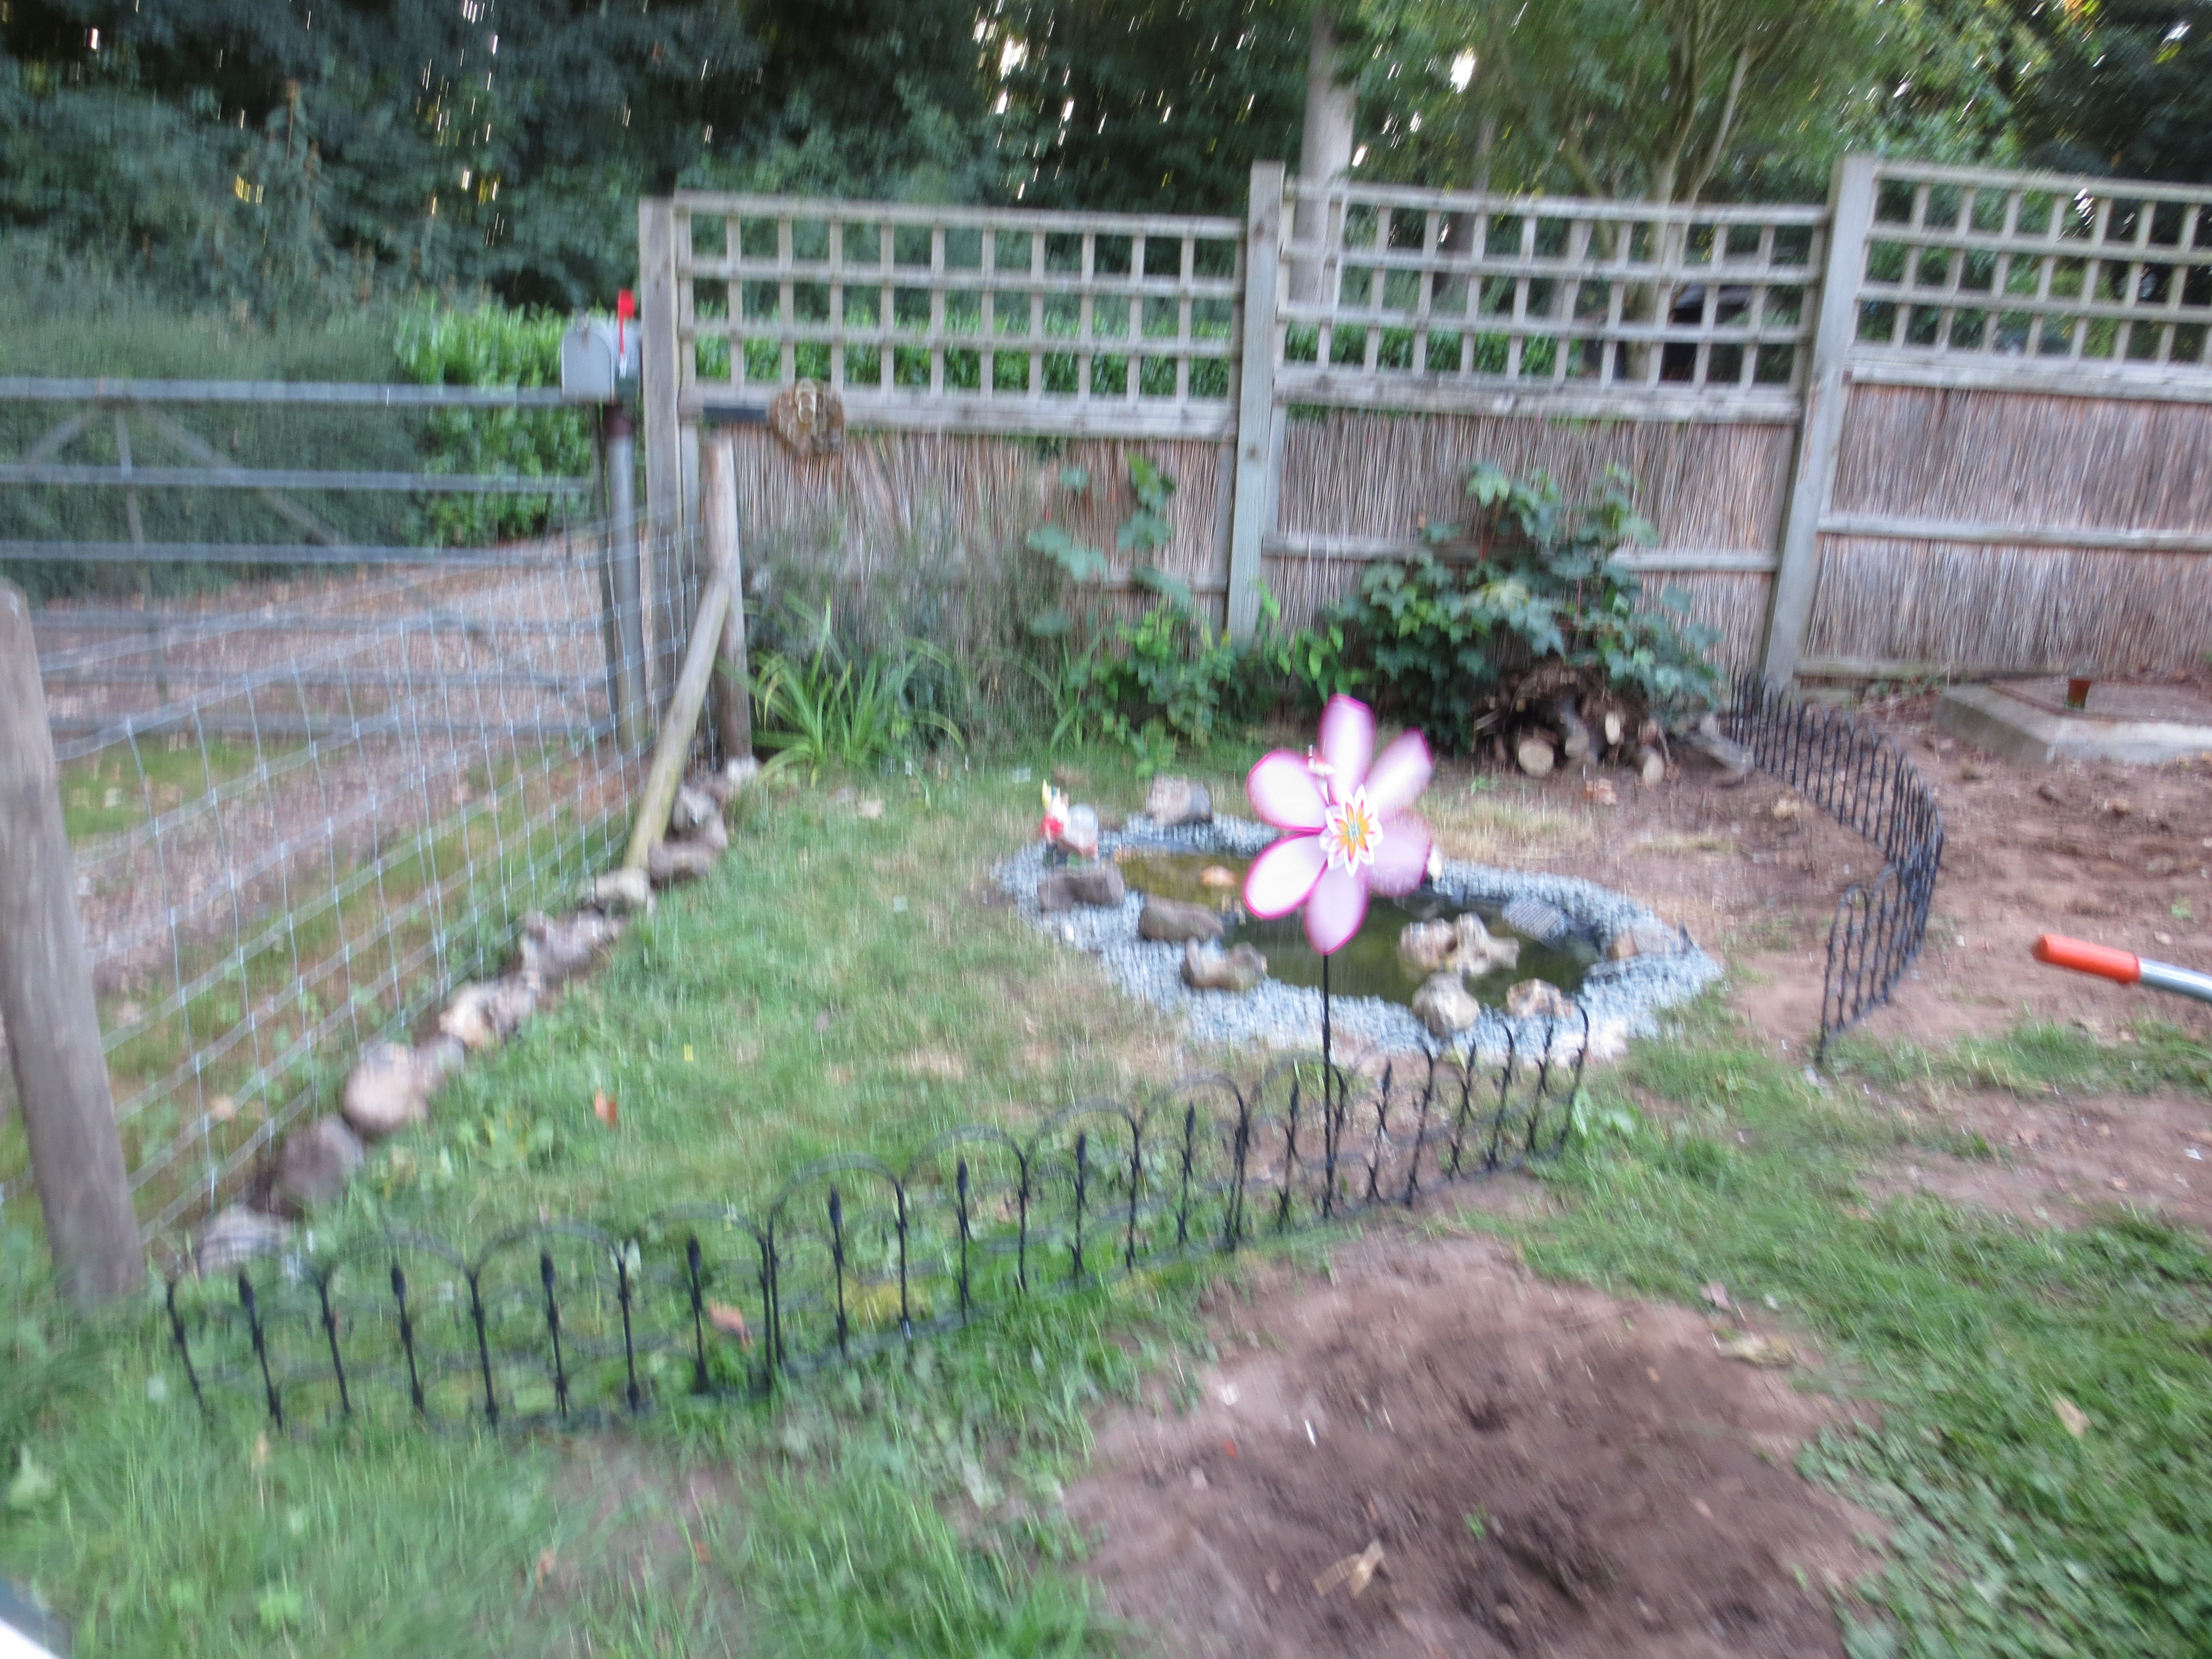
Next spring we will dig out the grass and add wildflowers.  We will also add a bird box and bird feeders.


Liquids, Solids and Gases

When we decided to home educate, I asked Elsa what she’d like to learn about and one thing she mentioned was liquids, solids and gases.

We did some worksheets from a book bought from The Works.  These books are good, but we don’t use them that often really.

She asked to do some experiments (eek)… so I hoped these would do.

Firstly, she’d seen a glass/arrow trick online and wanted to try that.  She kept on about it, so we discussed ‘how can we fit this into our liquids, solids and gases topic”?

So, how did we? I hear you ask.

We used a variety of different glasses/bottles (solid) and part filled them with water (liquid) and the rest of the bottle was still filled with air (gas) 🙂 don’t you just love an 8 year olds logic. 🙂

IMG_5764 IMG_5762 IMG_5763

We did this experiment to prove refraction.  We tried 4 different types of vessels to see if they were all the same or whether the size made any difference.  As it happens it does, the bigger the glass the further away it needs to be from the arrows for one of them to change. 🙂

The second experiment we did was ‘Can we change a solid into a liquid?’

This involved hot water and cold water and different solids. We tested each solid in both the hot and cold water to see if they would dissolve, whether they dissolved quicker or slower in hot or cold water and whether it turned back into a solid once we were done.

IMG_5934 IMG_5933 IMG_5932

Elsa enjoyed doing these experiments, although I’m not sure how suitable they are for the subject of liquids, solids and gases. 🙂

Infinity Tiles

On a HE website group I saw a link to this maths game from Babble Dabble Do.  No matter how you rotate each square they always fit together. How clever!  I thought Elsa and Anna would like to have a go at making one, I downloaded the template and let them colour them in following the pattern guide.

IMG_6070 IMG_6069

OK, well Anna needed help as she doesn’t really enjoy colouring in (what a nuisance that is).

The girls then laminated them and cut them into the squares. They have had fun making them in a variety of ways.  Elsa has actually coloured another one to add an extra 9 squares to her game.

IMG_6074 IMG_6076 IMG_6078 IMG_6079


Our Geography Curriculum

While mooching around the internet for inspiration I hit this fabulous website called Confessions of a Homeschooler. Erica, whose site it is has been home-schooling for a while now and therefore has some amazing resources. Most of them are free but she has some pay for ones as well, including a complete geography curriculum.

We also use her Daily Journal and Pre-R Daily Learning Journal (for Anna), both of which were free and I’ll do a blog about in the future.

Now I was always terrible at geography and I never got to really learn about where places are, their cultures etc., so I thought this is not only brilliant for Elsa, but also for me to learn more as well.

So I downloaded it, printed off the first 5 weeks of it and away we went.

Firstly, we made a passport to add the stamps of the flags of the various countries we will be visiting. (COAH is an American site so I downloaded the inserts from there and the front and back cover from Twinkl so we have a British passport).

IMG_5806 IMG_6072

We continued with week 1, which was learning the different continents and oceans.  We also made a salt dough earth and labelled it with the different, oceans, continents and countries we would be learning about over the next year or so.

IMG_5847 IMG_5850 IMG_5862 IMG_5853 IMG_5854 IMG_5863 IMG_5864 IMG_5865

We are missing out some parts of the curriculum but are following most of it and have done several countries so far and we will be blogging about them soon.

Elsa is loving this curriculum.

What is a Lapbook?

We have mentioned lapbooks a couple of times on the blog so far and I thought I’d explain what they are.

They are a creative way of displaying informational mini books, or a space for displaying drawings, worksheets, photographs etc.

They are called a lapbook as they fit on the childs lap.  Simple really 🙂

We use a square cut folder to create ours (we bought this many folders as they are really useful for keeping work separate/together, for sorting topics which I don’t want Elsa to do yet but I want to be organised and ready for).

We have done a couple so far and we have used the Homeschool Share website for both.

IMG_5968 IMG_5970  IMG_5747 IMG_5748

We downloaded the pirate one as a complete lapbook, but we only used some of it.  We added our own mini books and paperwork to it.  Elsa wrote a captains log, created a map and also did a wanted poster.

For the Longest Reigning Monarchs lapbook we created all of the mini books ourselves using the templates we downloaded.  This way Elsa could decide on what she wanted to research and she then decided on which mini book would be most suitable for each part of it.

Our little Space Cadet

Did you know that Great Britain have their first astronaut flying to the International Space Station this December?  No? Well until recently I didn’t either.

Untitled-1

Tim Peake is the lucky man who will be living and working there for 6 months.

The Unlimited Space Agency are running a series of space missions for children aged 7 – 11 which is perfect for Elsa as she wanted to learn about space as one of her topics. It is aimed at schools, however HE children are able to do it too, (Hooray), so we have registered her to the Astro Science Challenge where hopefully she will learn about space, space travel and the ISS among other things.

It starts on the 2nd of November so I’ll post about it again after Mission 1….

Counting down…….5……..4…….3……2……1………BLASTOFF.

Mushrooms anyone?

As I’ve said previously, we are semi structured and therefore, we do some indoor learning and some outdoor learning.  Recently we went on an organised foraging trip at some local woods.

This was really interesting (to me particularly as we live in a very rural place, so there are loads of mushrooms and berries around).

N, who took us, along with a few other HE families, showed us different fungi, some of which we could eat, some of which we couldn’t because they don’t taste nice and some of which we shouldn’t because ‘they can make you dead and that’s not very nice’. I quote.  LOL.

IMG_6019 IMG_6018 IMG_6014

It was a very wet and miserable day but actually in the woods it wasn’t so bad, both Elsa and Anna enjoyed the walk, poking around at the different mushrooms and even finding ones which you’d think would be impossible to see.

IMG_6017 IMG_6020

N collected different sorts of edible mushrooms on the walk around the woods and we were able to stop in a little opening in the wood, where she cooked them on this fabulous little cooker.  She had also brought along some crab apple slices with cinnamon, some fruit jelly and oat crackers, and some berry fruit sticks, which she let the children (and adults) all try.

IMG_6023 IMG_6024 IMG_6022

It was a very interesting and fun, if wet, day.

Sewing a doorstop

Elsa has always been one for being creative and crafty.  She loves drawing, painting, sticking, colouring etc.  I knew that homeschooling her would give us the option to help her try new creative ideas.

Therefore, after we had a problem keeping the door to the Harry Potter study open properly I asked if she’d like to make a doorstop (I also needed to make one for another door – we live in an old house so what can I say).

“Yes, yes, yes please mummy”

Well, there was our answer.

We had a quick look online to see if we could find an easyISH one to have a go at making and we found this chicken one.

I wrote down the instructions and off we went to get the things we needed.

  • Material
  • Felt
  • Stuffing (which is cheaper if you buy a cheap cushion and use the stuffing out of that as opposed to the ‘proper’ toy stuffing)
  • Rice/cous cous for the weight

We started by cutting the parts of the chicken we needed from felt and then pinned them to one side of the material.  We sewed the two wings on using a zig zag stitch (green wings on Elsa’s chicken).  We then sewed the two parts together making sure we trapped all of the edge parts of the felt in the seam. We left the back seam so we could change the angle (watch the video 🙂 ) so that the chicken sat properly then left a gap so we could stuff it.

IMG_5832 IMG_5837

We then turned it right way round and put in the weight (bagged), and the stuffing.  Finally we hand sewed the gap and added some eyes at the top.

IMG_5839 IMG_5841 IMG_5844

Tadah.  How happy does she look?

IMG_5845

The finished articles.

The instructions by Debbie were so clear on the video that this worked really well.  Elsa did a lot of it without too much help.

Arrrrrrrrrrrrrrrrrrrr Me Hearties

One of the topics Elsa showed an interest in learning about was Pirates.  I’d always thought this was in interesting, if somewhat gruesome topic, however with great age related resources from the library we were able to learn all sorts of information about them including some of the gorier stuff.  We decided again to create a lapbook for this topic. Lapbooks are a fun, colourful and easy way of collating and displaying lots of information.  We downloaded the Pirate lapbook from Homeschool Share and used some parts of it and created our own information mini books as well using the templates which can also be found at Homeschool Share.

First of all, both Elsa and Anna designed bandanas so they could look like a pirate.

IMG_5751

I downloaded a pirate game from Twinkl, which the girls both enjoyed playing A LOT.

IMG_5761

We researched various topics including crew, found information about 3 real pirates, food and drink, learned pirate speak and we made our own pirate flasg.

IMG_5846 IMG_5809 IMG_5929 IMG_5930

We also made a map, which was fun and came out really well.

IMG_5910 IMG_5911 IMG_5913

We ended this topic by watching the Aardman film The Pirates – In an Adventure with Scientists, which both girls thought was funny (and of course it was totally historically correct 😉 )

IMG_5970 IMG_5767