Famous Artists – Michelangelo

As part of our Italy topic the girls found out that Michelangelo was an Italian artist. They researched a bit about him and found out that he painted the ceiling of the Sistine Chapel which took 4 years to complete.

I thought it would be a challenge for them to try to paint how he would have had to paint this ceiling. They would also see why it took so long to do.

They soon realised that painting lying on your back is very difficult and they did say their arms hurt a bit after a short while, but they both managed to produce a painting. 😀

A Great Pottery Throwdown

We watch a programme called The Great Pottery Throwdown, which we love and one week on the latest series, they made tiles. We decided we wanted to have a go at making them. So we bought some air drying clay (as we don’t have a kiln 🙂 ) and used the tools we had already from our old playdough days.

First we had to warm the clay up to make it easier to roll out.  We then rolled it out until it was about 3 or 4mm thick then we cut a square ish shape out of it.

We then used different tools to make indents and marks into it, we added clay to make the clay more 3d.  The results were good.


We left them about a week on the window sill to dry, then we painted them.


The final result was really good. We’re pleased.

Cupcake Decorating

We have been cupcake decorating at a local cafe a couple of times. There we have made Christmas themed cupcakes and most recently, Harry Potter themed cupcakes.

For the Christmas themed cupcakes we made a wreath, a polar bear, a Christmas pudding, a Christmas tree, a snow flake and a poinsettia (a festive flower).

For the Harry Potter Themed cupcakes we made Hedwig (Harry’s owl), Ron’s jumper, a house scarf (Anna and I are both Hufflepuff), a potion scene, a golden snitch and the sorting hat.

We used buttercream and fondant to make the decorations.  The lady told us how to make the decorations.  They looked really good when we’d finished.  (They tasted nice too).

It’s great fun and we hope to go again soon.

If you know a nearby cafe that does cupcake decorating I fully suggest it.

Famous Artists – Bob Ross

We learn about a variety of artists and another different one we decided to take a look at was an American T.V. artist called Bob Ross .

He had a show in the 80’s and 90’s called The Joy of Painting where he showed you in real time how to paint a landscape picture.  So using one of his tutorials and using watercolour paint, we painted a mountain range with trees and a river.

He has the most calming voice and made it simple to follow. It was fun and the results were good. I’d like to do another of his tutorials one day..


Mono Printing

One day while Elsa was busy elsewhere, Anna and I wondered around our local City and came across a craft fair offering free activities for those who attended.  Anna tried several of the activities including Monoprinting.  Monoprinting is where you place black ink on a plastic sheet then place a plain piece of paper on top of it then you score in a picture.

In this case Anna traced a floral design which was already there.  Once she had finished she picked up her piece of paper and turned it over.  There she could see the results. Where she had scored was a print. It’s a really effective and easy to do.

Famous Artists – Jackson Pollock

We hadn’t done any work on artists for a while, so I asked if the girls fancied learning about someone else. Of course they did because what we do is we chat about the artist, find out some information about them along with a few interesting facts and the we have a go at their style of art. This time it was Jackson Pollock who is well known for his drip painting style.

The girls added water to the paint so it was runnier than usual and either dripped or flicked the paint onto the canvas sheets we had. This was messy and fun (so they tell me).

The finished products

Jackson Pollock’s style of art is interesting. The big black blob on Anna’s picture was an accident, but she decided that she wanted to make sure it had lots of blobs of other colours on it so when it dried it would be ‘more colourful’.

Making our own soap

This year we wanted to make our own gifts for families and one of things we decided to do was make our own soap.

I found this video and thought we’d use this one but amend it a bit.

We bought some goat’s milk soap base and chopped it into cubes ready to melt. We grated some lemons to get the rind.


We melted the soap base over a pan of simmering water. This took quite a while.


We then mixed in a few drops of  both lavender and lemon essential oils.

We poured the mixture into our moulds and let them set. removed them from the mould to let the other side set.

Finally, we wrapped them in cling film to prevent them from being affected by the air and then in brown paper with a ribbon.

These looked and smelled lovely and worked perfectly. We will be doing this again.

Minecraft Plushies

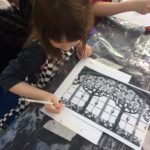
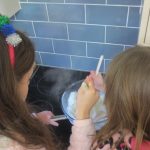
One day while looking through our local library we found this book and the girls decided they would like to make a plush cube. (yay measuring and sewing) 🙂

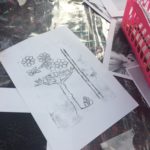
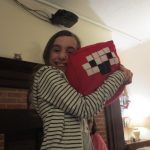
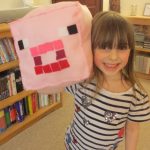
I asked them which one they would like to make.  Elsa decided on the Minecraft parrot and Anna decided on the pig.  I asked them to design them on some squared paper and then work out what and how many materials they would need.  We popped to our local Hobbycraft (brilliant shop btw) and purchased what we needed.

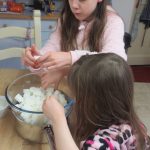
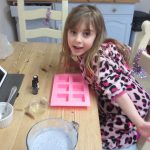
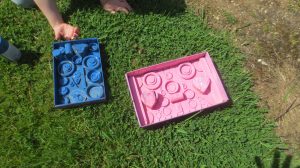
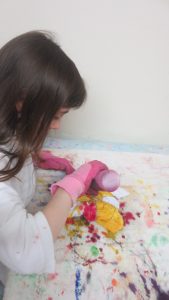
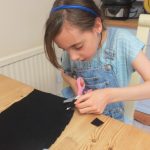
Firstly we measured 6 8x8in squares out of the felt which would be the base colour of the things we’d decided to make.  Pink for Anna and red for Elsa.


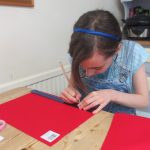
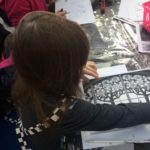
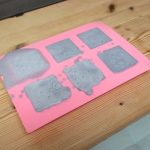
We then cut them out and starting to sew them together.  We left the sides which required more detail separate to make it easier to sew.


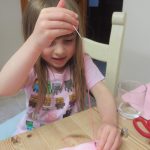
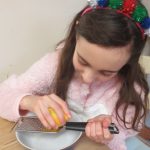
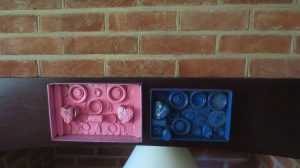
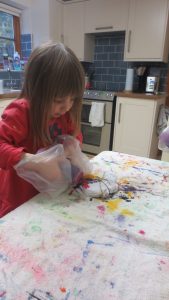
We then cut out 1x1in squares for the details then pinned them on the base squares. Elsa had face, wings, tail and Anna had face and tail.


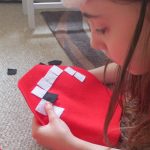
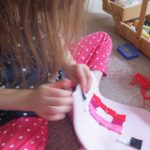
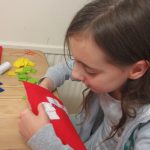
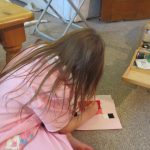
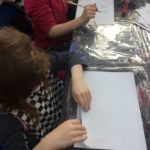
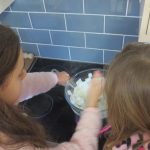
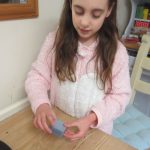
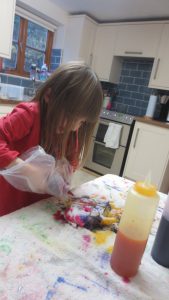
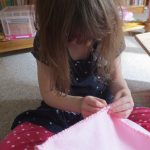
They gradually sewed the pieces on and then finally sewing all the base pieces together we left a little gap so we could stuff them.


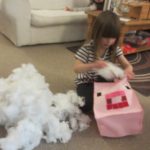
Then they finished off by sewing up the hole.


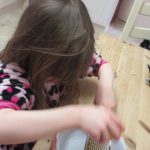
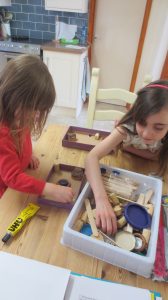
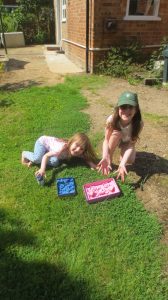
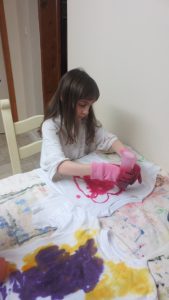
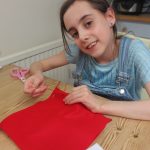
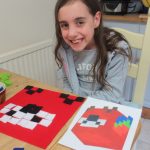
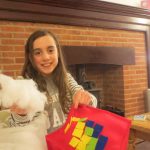
The girls did these mostly on their own. It took a little while to complete them as there was a lot to sew, but they completed them.

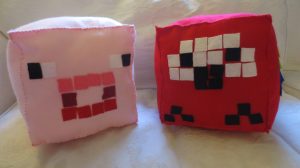
I think they look great. 🙂

Learning about Famous Artists – Louise Nevelson

I asked the girls if they would like to do another lesson from the famous artists curriculum.  We haven’t done any for quite a while so the girls were both very keen to do this.  We chose Louise Nevelson this time.  As we always do, we researched our artist a little bit to find out where and when she was born, where she studied and what type of art she was most famous for which is Monochromatic Sculpture. She mainly used wood for her art, but we wouldn’t have had enough so we improvised at bit and over the previous week or two we collected items we could use to replicate her art.

IMG_1034

The girls found some box lids and designed their art pieces in those then stuck them down and left them to dry.

IMG_1033 IMG_1035 IMG_1036 IMG_1041

While it was drying we went to our local DIY shop to buy some acrylic spray paints. Elsa chose pink and Anna chose blue.  We went home and went outside to spray the now dry pieces of art.

IMG_1042 IMG_1043  IMG_1044 IMG_1046 IMG_1047

Finished art.

IMG_1048 IMG_1054

This has been one of their favourite artworks they have done 🙂

Tie Dyeing T-shirts

We did some tie dye because we have been learning about rainforests and all the colourful birds, flowers and animals that live there.

First we wet our t-shirts in warm water so that the dye would sink in to the t-shirt.

img_0252 img_0253

We twisted our t-shirts into two different patterns.  In this one we have called it a sunflower fold and did it by twisting from the middle.  We had no rubber bands so we used string to stop it from undoing.

img_0254

We made the dye by mixing the dye powder with warm water and salt.  We put the dye in squeezy bottles so it was easy to put the dye on the t-shirts.  Next we dyed our t-shirts by squirting the dye in random places.  We suggest wearing gloves or something on your hands so you don’t end up with colourful hands.

img_0255 img_0256 img_0257 img_0258 img_0259 img_0261 img_0263 img_0264 img_0265 img_0266 img_0268 img_0270 img_0271

We put our t-shirts in a bucket of cold water to set the dye into the cotton.  Then we rinsed them in warm water to get rid of any dye that didn’t soak into the t-shirt.

img_0277 img_0279

Final results.

img_0282 img_0283 img_0284 img_0285

Left to dry on the washing line.

img_0287

We really enjoyed doing this, it was really fun and we had great results.  We didn’t think they would turn out this well but they did.  They look amazing.  We can’t wait to wear them.