Homemade Crystals using eggshells

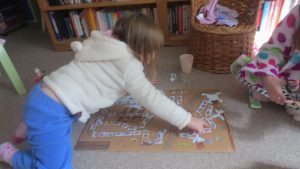
We are always thinking how we can do science at home and one day Elsa asked if we could make crystals. So…. we popped to our local library and found a at home science book which had it in.

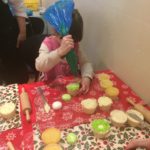
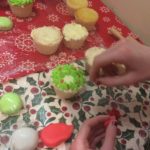
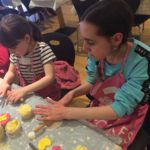
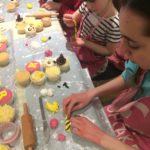
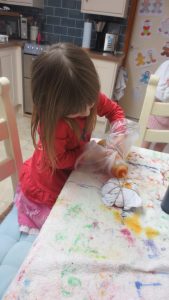
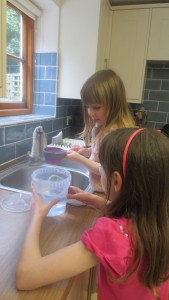
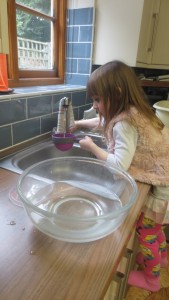
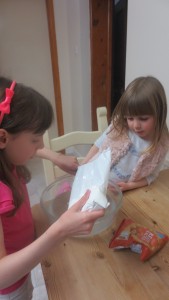
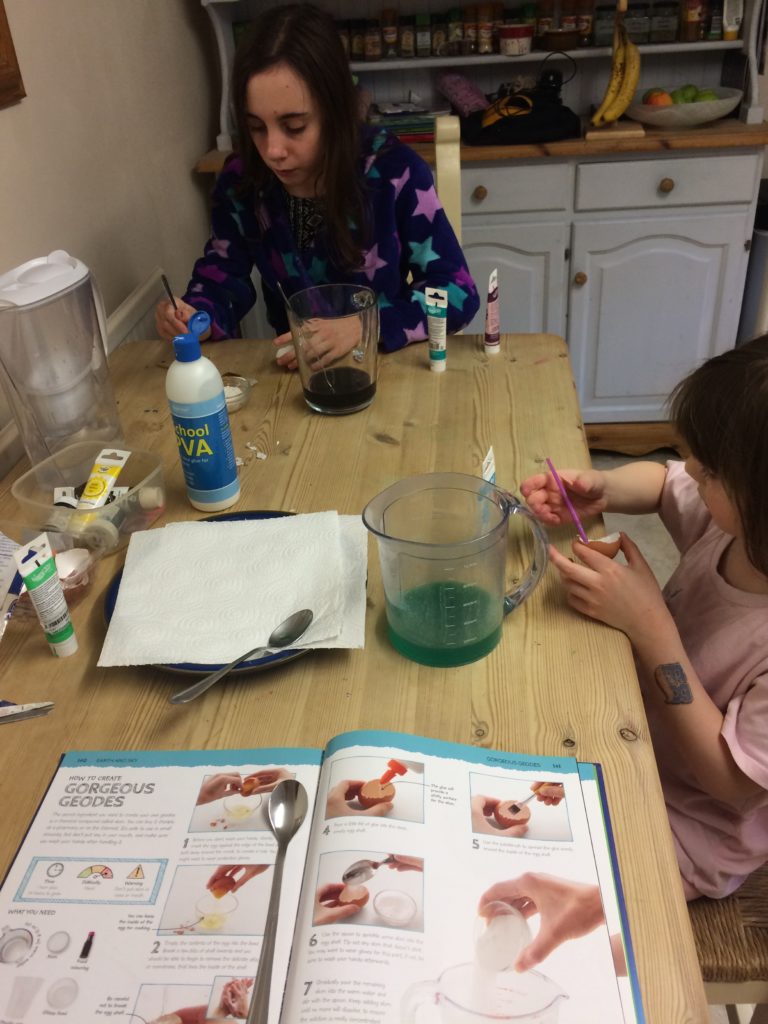
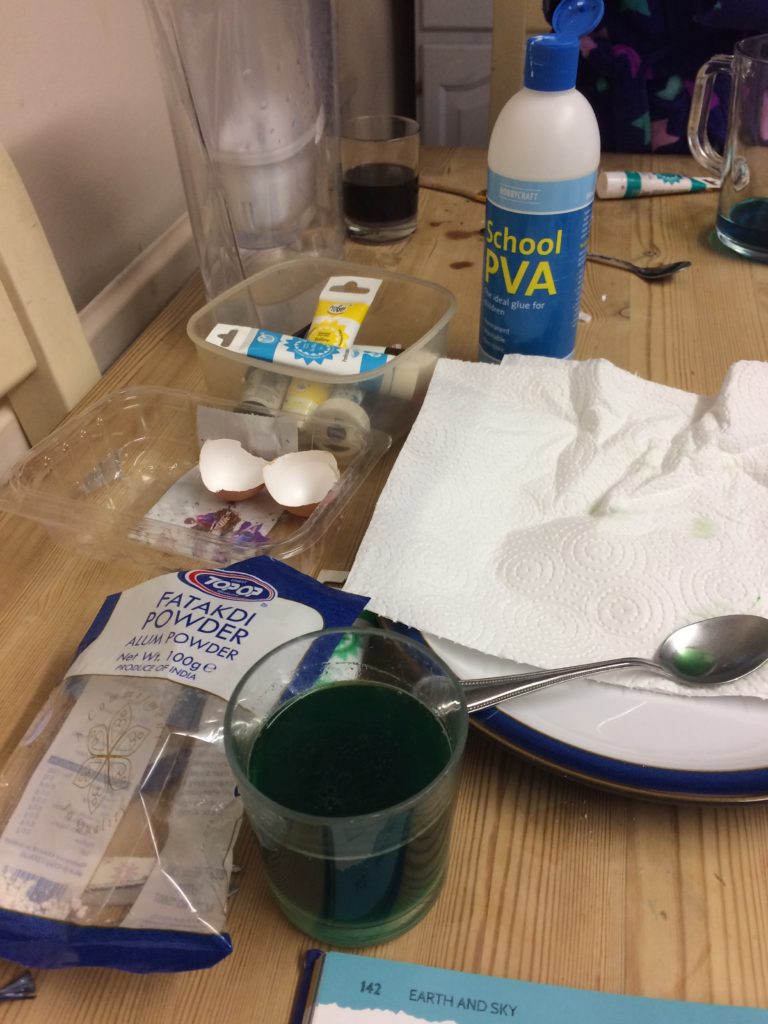
It looked too easy to be true as you only needed 5 things (eggs, water, alum powder, pva glue and food colouring). First of all we emptied the egg shell of the eggs (we made cupcakes), then washed them and left them to dry.

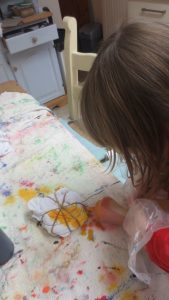
Then we painted a little PVA glue to the inside of the shell and sprinkled it with alum powder, then again we had to wait for them to dry.

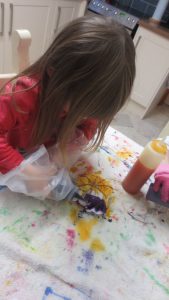
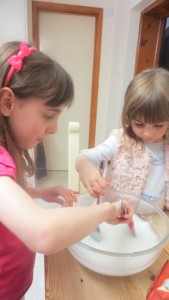
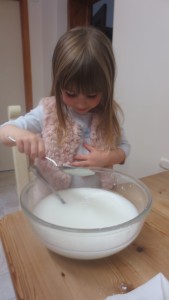
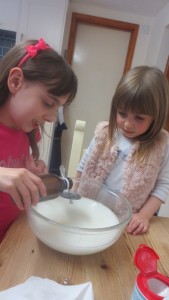
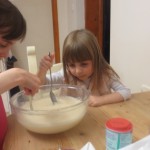
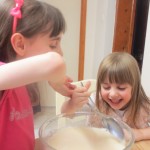
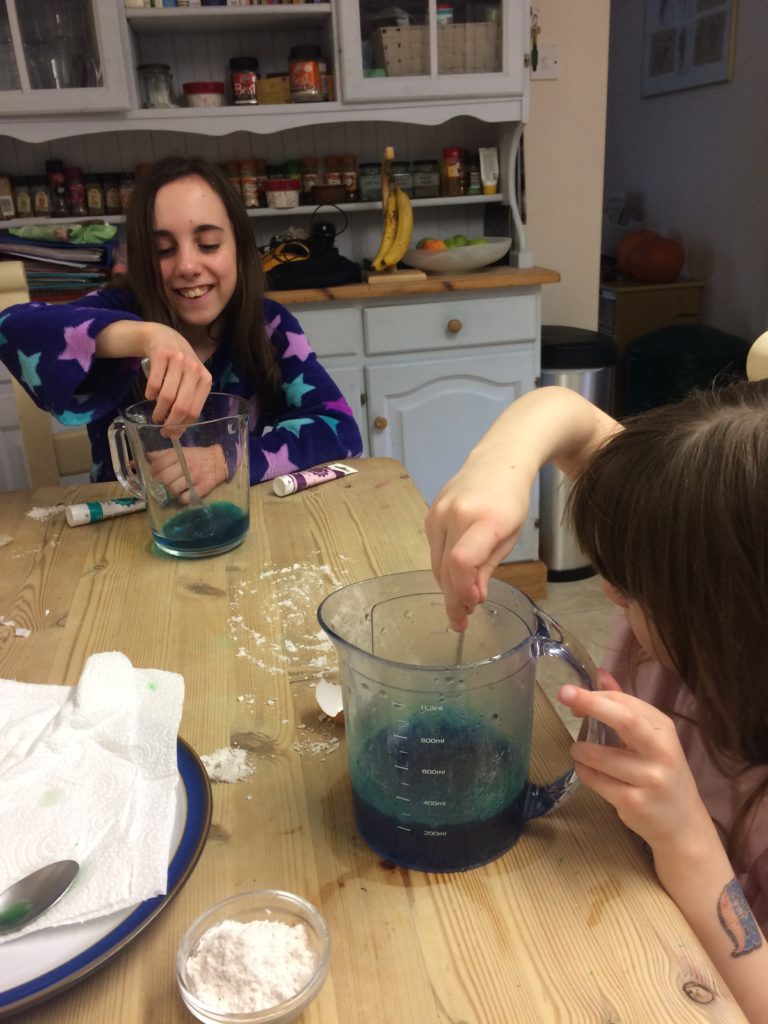
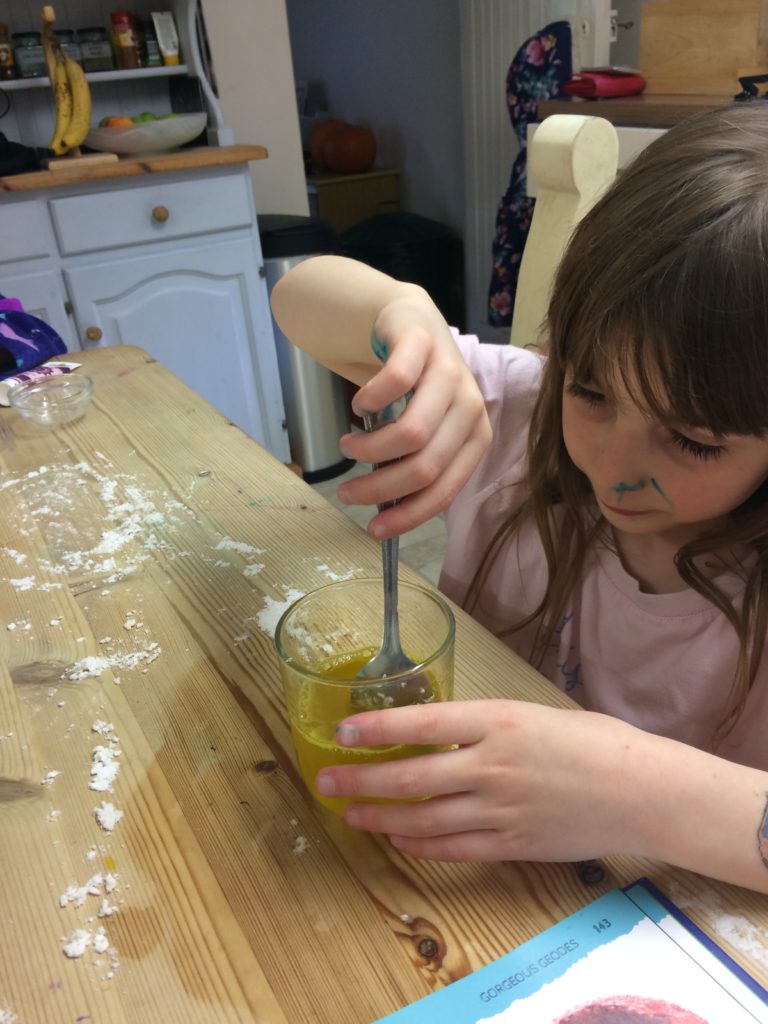
We mixed up 2 parts warm water to 1 part alum powder and then added different food colouring. We stirred it for what seemed forever until it had all disolved.

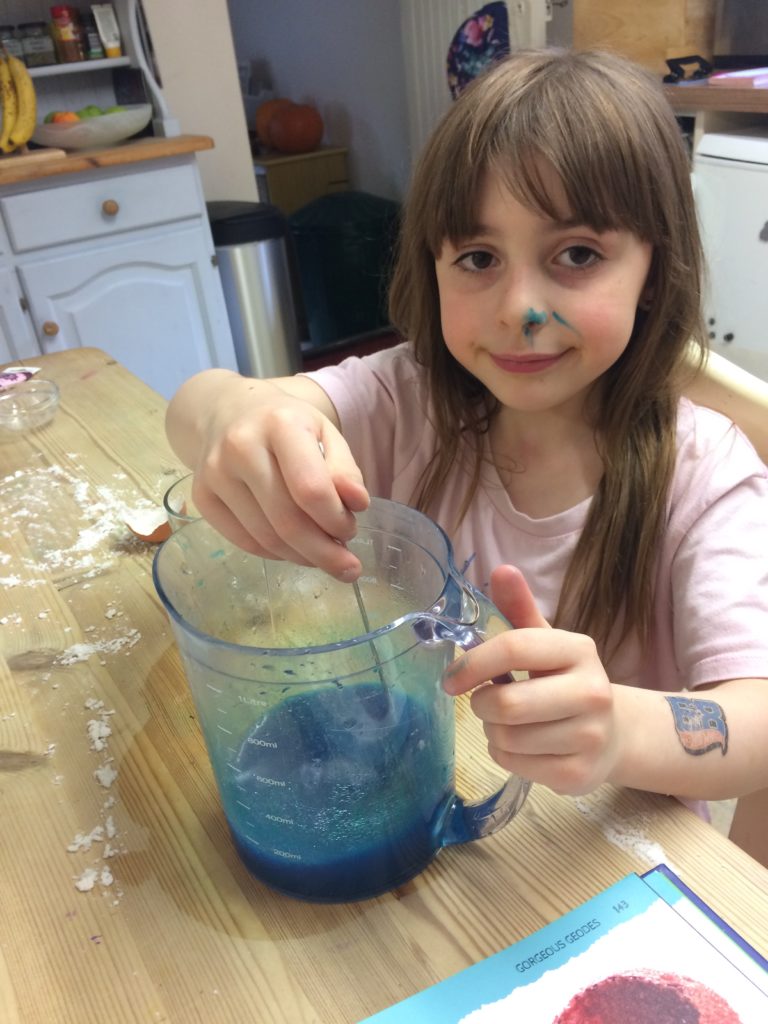
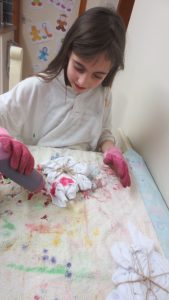
We put the eggshells into the different mixtures overnight. The next day we removed them and placed them on paper towels to dry out.

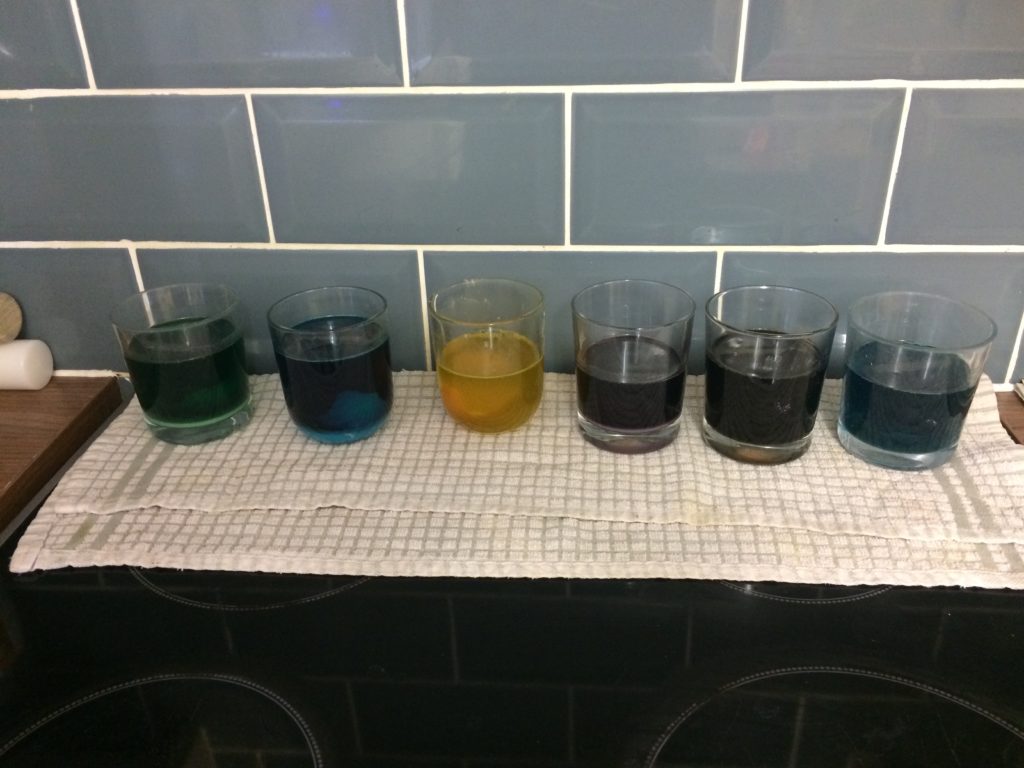
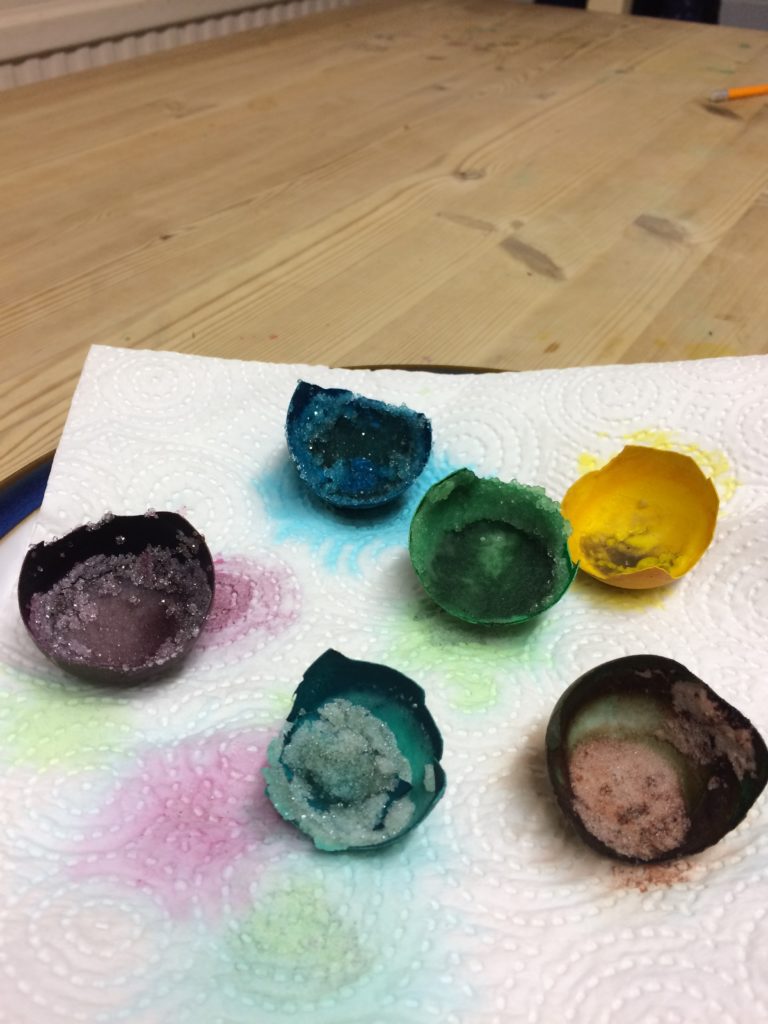
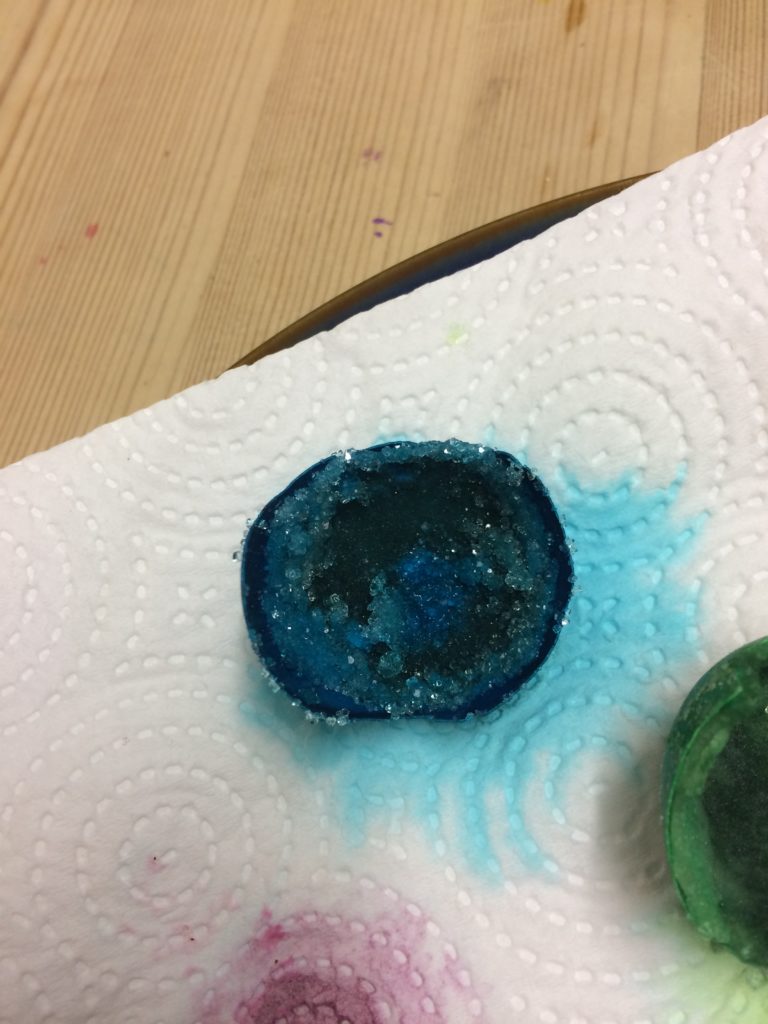
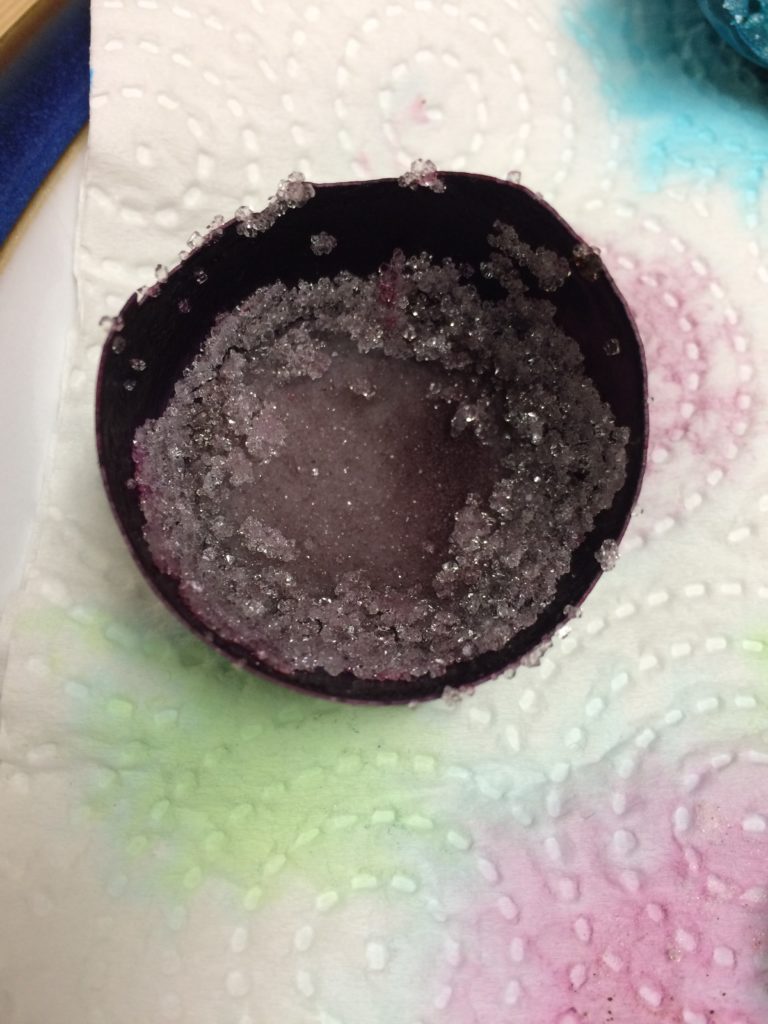
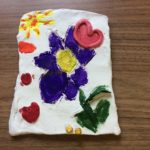
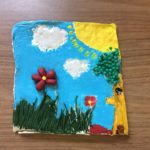
These were the results. They worked pretty well.

A Great Pottery Throwdown

We watch a programme called The Great Pottery Throwdown, which we love and one week on the latest series, they made tiles. We decided we wanted to have a go at making them. So we bought some air drying clay (as we don’t have a kiln 🙂 ) and used the tools we had already from our old playdough days.

First we had to warm the clay up to make it easier to roll out.  We then rolled it out until it was about 3 or 4mm thick then we cut a square ish shape out of it.

We then used different tools to make indents and marks into it, we added clay to make the clay more 3d.  The results were good.


We left them about a week on the window sill to dry, then we painted them.


The final result was really good. We’re pleased.

Cupcake Decorating

We have been cupcake decorating at a local cafe a couple of times. There we have made Christmas themed cupcakes and most recently, Harry Potter themed cupcakes.

For the Christmas themed cupcakes we made a wreath, a polar bear, a Christmas pudding, a Christmas tree, a snow flake and a poinsettia (a festive flower).

For the Harry Potter Themed cupcakes we made Hedwig (Harry’s owl), Ron’s jumper, a house scarf (Anna and I are both Hufflepuff), a potion scene, a golden snitch and the sorting hat.

We used buttercream and fondant to make the decorations.  The lady told us how to make the decorations.  They looked really good when we’d finished.  (They tasted nice too).

It’s great fun and we hope to go again soon.

If you know a nearby cafe that does cupcake decorating I fully suggest it.

Minecraft Plushies

One day while looking through our local library we found this book and the girls decided they would like to make a plush cube. (yay measuring and sewing) 🙂

I asked them which one they would like to make.  Elsa decided on the Minecraft parrot and Anna decided on the pig.  I asked them to design them on some squared paper and then work out what and how many materials they would need.  We popped to our local Hobbycraft (brilliant shop btw) and purchased what we needed.

Firstly we measured 6 8x8in squares out of the felt which would be the base colour of the things we’d decided to make.  Pink for Anna and red for Elsa.


We then cut them out and starting to sew them together.  We left the sides which required more detail separate to make it easier to sew.


We then cut out 1x1in squares for the details then pinned them on the base squares. Elsa had face, wings, tail and Anna had face and tail.


They gradually sewed the pieces on and then finally sewing all the base pieces together we left a little gap so we could stuff them.


Then they finished off by sewing up the hole.


The girls did these mostly on their own. It took a little while to complete them as there was a lot to sew, but they completed them.

I think they look great. 🙂

Learning about Famous Artists – Louise Nevelson

I asked the girls if they would like to do another lesson from the famous artists curriculum.  We haven’t done any for quite a while so the girls were both very keen to do this.  We chose Louise Nevelson this time.  As we always do, we researched our artist a little bit to find out where and when she was born, where she studied and what type of art she was most famous for which is Monochromatic Sculpture. She mainly used wood for her art, but we wouldn’t have had enough so we improvised at bit and over the previous week or two we collected items we could use to replicate her art.

IMG_1034

The girls found some box lids and designed their art pieces in those then stuck them down and left them to dry.

IMG_1033 IMG_1035 IMG_1036 IMG_1041

While it was drying we went to our local DIY shop to buy some acrylic spray paints. Elsa chose pink and Anna chose blue.  We went home and went outside to spray the now dry pieces of art.

IMG_1042 IMG_1043  IMG_1044 IMG_1046 IMG_1047

Finished art.

IMG_1048 IMG_1054

This has been one of their favourite artworks they have done 🙂

Tie Dyeing T-shirts

We did some tie dye because we have been learning about rainforests and all the colourful birds, flowers and animals that live there.

First we wet our t-shirts in warm water so that the dye would sink in to the t-shirt.

img_0252 img_0253

We twisted our t-shirts into two different patterns.  In this one we have called it a sunflower fold and did it by twisting from the middle.  We had no rubber bands so we used string to stop it from undoing.

img_0254

We made the dye by mixing the dye powder with warm water and salt.  We put the dye in squeezy bottles so it was easy to put the dye on the t-shirts.  Next we dyed our t-shirts by squirting the dye in random places.  We suggest wearing gloves or something on your hands so you don’t end up with colourful hands.

img_0255 img_0256 img_0257 img_0258 img_0259 img_0261 img_0263 img_0264 img_0265 img_0266 img_0268 img_0270 img_0271

We put our t-shirts in a bucket of cold water to set the dye into the cotton.  Then we rinsed them in warm water to get rid of any dye that didn’t soak into the t-shirt.

img_0277 img_0279

Final results.

img_0282 img_0283 img_0284 img_0285

Left to dry on the washing line.

img_0287

We really enjoyed doing this, it was really fun and we had great results.  We didn’t think they would turn out this well but they did.  They look amazing.  We can’t wait to wear them.

Rainforest Cocoa Bean Madness Game

We have been learning about the Amazon rainforest.  Part of our topic was to create a game.

We brainstormed our ideas on a board about what we might see or come across if you were in the rainforest and then we chose the best ones to make our game.

We decided to make a game where you had to collect cocoa beans as you went through the forest, but you met good and bad things as you went.

We called our game Cocoa Bean Madness.

Firstly we cut out lots of cocoa beans and coloured stones and other bits, which we had printed from the internet.  We used the stones to design the game and we used various bugs, villages and animals as ‘to do’ spots.  We made our own spinner which worked well.   We chose and printed out our own explorers as our moveable piece.  We also decorated the board to make it more colourful, with trees, rivers and other animals and flowers.

img_9777 img_9778 img_9781 img_9782

The rules were, you use the spinner to move around the board and every stone you land on you collect a cocoa bean, but if you landed on a tiger you had to go back to the start, or if you landed on a spider you had to lose all your beans.  If you landed on a village you collected 4 extra beans and if you landed on a parrot you get to go to the nearest village.  The winner was the person with the most cocoa beans when everyone had finished.

img_9783 img_9780

img_0288

It’s a lot of fun to play this game and the coolest thing about it is we created it and made it ourselves.

Making Big Bubbles

While we were in Wales, we bought some big bubbles but we decided to see if we could make own mixture for when we ran out.

We found a recipe on a website called Steph’s two girls and decided to see if it would work for us.

This is the recipe we used.

  • 6 cups of water
  • 1/2 a cup of cornflour
  • 1/2 a cup of washing up liquid
  • 1 tbsp. of glycerine
  • 1 tbsp. of baking powder

First we put 6 cups of water in a big bowl.

img_9650 img_9651

Then we added cornflour  and stirred it well.

img_9652 img_9653

Next we added baking powder, glycerine and washing up liquid.

img_9654 img_9655 img_9656

Then we stirred it gently and our spoons got caught together which made us giggle . 🙂

img_9657 img_9658

While we left it for a hour to settle we used straws and string to make another big bubble blower. We slid the string through the straws.

img_9659 img_9661 img_9663

Then we pulled funny faces through the big bubble blower.

img_9667 img_9665

We had fun, we managed to blow bubbles in all shapes and sizes.

img_9668 img_9670 img_9705 img_9704

We made BIG BUBBLES which was fun.

bubbles-1 bubbles-2

Some of our bubbles just floated about.

img_9688 img_9687

WE LOVED IT!

Matisse – Art Project 2

The art curriculum we are using had several art pieces to do by Henri Matisse.  This one was inspired from his Icarus cutout.  We decided to use paint instead of paper for the main part of the picture.

Firstly we drew round Anna to get the rough outline of our painting.

IMG_8575

Next we changed the shape so it was more fluid and similar to the original then started painting it in the same colours he did his cutouts from.

IMG_8578 IMG_8585 IMG_8589

Next we cut out random stars and stuck them on.  Elsa painted on the heart.

IMG_8590 IMG_8592

Final painting.  This turned out really well.  The girls enjoyed doing it, it was lovely to spend time outside in the sunshine.

IMG_8595


Learning about Famous Artists – Henri Matisse

Lesson 3 of the Famous Artists curriculum, and this time it’s Henri Matisse.  Elsa researched him and we chatted about the different styles of art he did.  He is most famous for his painting/drawing with scissors which is basically a collage.  He used a lot of organic shapes and very few straight edges.  We had already done a name panel in this design so we decided to do his banner style this time.

Elsa decided one half of her banner was going to be a superhero style cutouts with Batman, Dangermouse and Star Wars all making an appearance.  The other side was more organic and like the style of Matisse a little more.

To start with she cut out different coloured rectangles and stuck them down in two strips, then cut and placed the various things she wanted to put on it to see how they fitted.  After moving them around for the best look, she stuck them down.

IMG_8494 IMG_8495 IMG_8497

IMG_8498

This was great fun.  I know that because I did one too. 🙂