Human Body – Skeleton

Elsa decided that this terms topic would be the Human Body.  We had already completed a sub topic on teeth before Easter due to the fact that we had all been to the dentist.

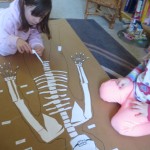
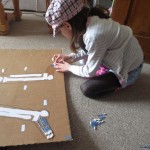
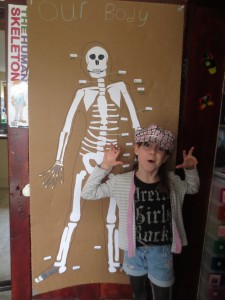
The last couple of weeks we have been learning about the skeleton bones.  Firstly, we chatted about the skeleton as a whole and what we needed it for.  Then I downloaded a skeleton labelling sheet from Twinkl.  Finally, I drew around Elsa so we had a life sized shape to stick our bones on to, (which was obviously very tickly).
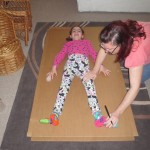
IMG_7671 IMG_7701

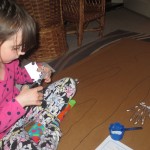
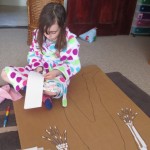
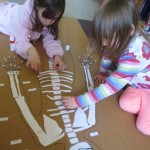
I asked Elsa where she wanted to start and she said hands and arms.  So we started there, using cotton buds as the phalanges.  Elsa said she didn’t realise there were so many bones in the hands and wrists.
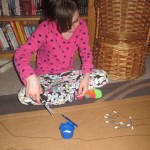
IMG_7706 IMG_7711

Next we did the bones in the arms.  We stuck on the labels off the Twinkl sheet (which uses the proper bone names), she also labelled them with the common names we use for them too.
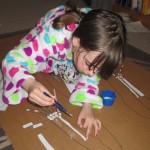
IMG_7713 IMG_7715

The next day, we did the skull, shoulders and collar bones.  Anna was here to help us this time, so it was nice for Elsa to explain to her the bones we had already completed.
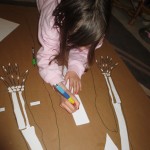
IMG_7761 IMG_7760

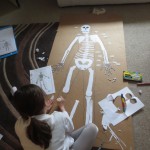
Next, we added the spine and ribs and sternum.
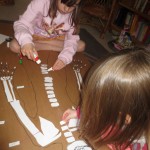
IMG_7762 IMG_7766 IMG_7767

Finally, it was the pelvis and legs, feet and toes.
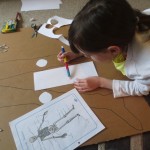
IMG_7780 IMG_7781 IMG_7783 IMG_7784 IMG_7785

Our finished skeleton.

IMG_7787

Next stop the internal organs 🙂
 

Learning about Famous Artists – Pablo Picasso

As I’ve said before, Elsa is more of a crafy type of person, more hands on.  So am I really too.

I love art, particularly impressionism, so I thought it would be nice to introduce her to different artists from over the years.

I was searching for something I thought might be suitable when I stumbled upon the Pink and Green Mama website, There are several artist ebooks you can download for a small fee.  I chose the 3rd one, but I think any of them would be interesting to do.

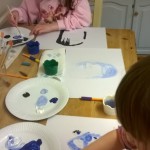
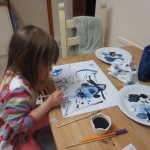
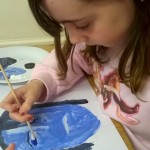
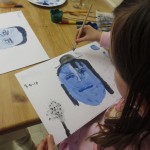
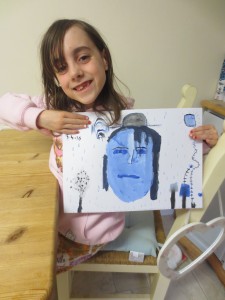
So today we started with Pablo Picasso and his blue period. We talked a little bit about Pablo Picasso, where and when he was born, what type of art he did and why he went through his blue period (1900 – 1904).

I had bought some art books and paintbrushes from The Works, so we were ready to give it a try.

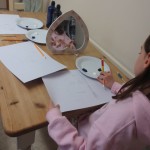
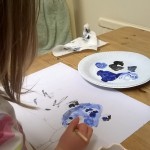
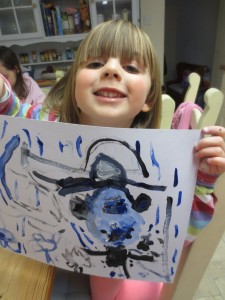
Firstly we sketched our portraits, then using blue, white and black paints we created different shades and tones to create our pictures.  This was a really interesting project for me to see if they could use just 3 colours effectively.  They did. 🙂

IMG_7772 WP_20160415_009 WP_20160415_007 IMG_7774 WP_20160415_010 IMG_7773A

Finished artwork 🙂

IMG_7775 IMG_7776


Easter 2016

We don’t break up officially for any holidays.  If we fancy some time off, we take it.  This is one of the beauties of Home Education, however we do learn a bit about all of the various holidays we would be taking if we were at school.

This includes learning about the proper meaning of them, why we celebrate them and doing various crafts.

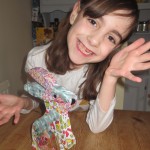
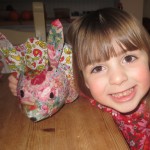
One of the Easter crafts we did was some decoupage. I’d never done it before and we saw it mentioned online, so we popped in to our local Hobbycraft to see at what they had available.  The girls each chose a basket and a rabbit, which were cheap at £2 and some papers (which varied between £2 and £3.80 for 3.

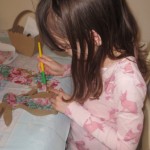
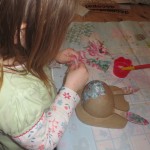
We just ripped the paper into smaller pieces, watered down our pva glue and off they went.

It’s great fun, it kept the girls occupied for ages and as it doesn’t really matter how much glue you get on it, little ones can do it independently.

IMG_7548 IMG_7549 IMG_7553 IMG_7552

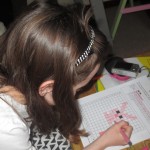
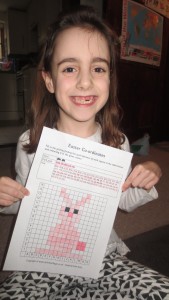
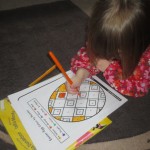
Elsa did a co-ordinates sheet which we found on Activity Village, she had to place the co-ordinates in the correct squares to produce an Easter picture.  She thought this was great fun.

IMG_7577 IMG_7578 IMG_7583

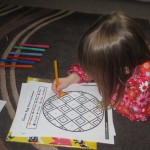
I found a great little Easter Maths booklet on Twinkl.  🙂 Anna decided she’d like to start on that, she started with her least favourite pastime of colouring.  I don’t understand why she doesn’t enjoy it, she’s really good at it.

IMG_7575 IMG_7576

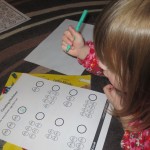
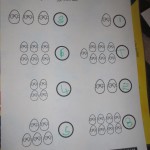
After that she wanted to do a number sheet.  She’s really doing well with her number work.

IMG_7580 IMG_7582

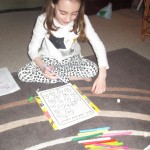
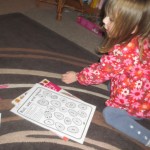
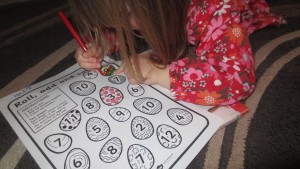
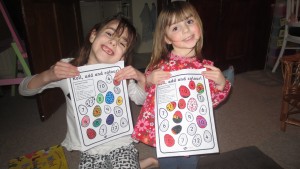
There was a great game in the maths booklets which we all played together.  You had to throw 2 dice and add them together and then colour the relevant egg.  The one with the most eggs coloured at the end of the game (in our case 10 throws each) won.  It was a bit easy for Elsa, but we all enjoyed it and Anna won. 🙂

IMG_7584 IMG_7585  IMG_7586 IMG_7588

What a busy Easter. 🙂