Matryoshka Nesting Dolls

As part of our Russia topic, the girls found out information on traditional Matryoshka Nesting Dolls and with that they decided they’d like to make some.

We decided that it may be too difficult to make a whole set out of wood, so chose to sew some out of felt instead.  We found a picture online and roughly copied what they looked like.

They didn’t take too long to do and they look really good.

Famous Artists – Jackson Pollock

We hadn’t done any work on artists for a while, so I asked if the girls fancied learning about someone else. Of course they did because what we do is we chat about the artist, find out some information about them along with a few interesting facts and the we have a go at their style of art. This time it was Jackson Pollock who is well known for his drip painting style.

The girls added water to the paint so it was runnier than usual and either dripped or flicked the paint onto the canvas sheets we had. This was messy and fun (so they tell me).

The finished products

Jackson Pollock’s style of art is interesting. The big black blob on Anna’s picture was an accident, but she decided that she wanted to make sure it had lots of blobs of other colours on it so when it dried it would be ‘more colourful’.

Vikings – An Interesting Topic – Part 1

Each term I ask my girls if there is anything they would like to learn as a topic.  This term they asked about Vikings. There is quite a lot of Viking history in the County we live in so I hit the internet to find a curriculum to base from then we went to the library  to borrow some books and we were ready.

The first thing we talked about was the most obvious. The longboats.  We talked about the history of them, the size, why they had the shields on the outside and why they burned them.  We completed some worksheets about them then made an origami one to finish that part of the topic. We went to Sheringham which had a replica (small), which they set light to in the evening.

IMG_0726 16836196_10212731260181406_3270459094282735075_o IMG_1055

We talked about the different foods they would have eaten, then we made some Viking bread from a recipe we found in one of the books we got from the library. It was very salty 😀

IMG_0714 IMG_0717 IMG_0718 IMG_0719 IMG_0721 IMG_0723 IMG_0724 IMG_0725

Next we talked about weapons and armour.  We visited our local museum where they have an extensive array of weapons and videos which was really interesting.

WP_20170425_005 WP_20170425_006

Then we made a shield and some swords out of card.

IMG_0747 IMG_0748 IMG_0749 IMG_0750 IMG_0751 IMG_0754 IMG_0758 IMG_0759

The display of work we have been doing.  This includes a timeline through history, some research on runes, food, longboats, weapons and armour, and where the Vikings attacked the UK.

IMG_1058


Tie Dyeing T-shirts

We did some tie dye because we have been learning about rainforests and all the colourful birds, flowers and animals that live there.

First we wet our t-shirts in warm water so that the dye would sink in to the t-shirt.

img_0252 img_0253

We twisted our t-shirts into two different patterns.  In this one we have called it a sunflower fold and did it by twisting from the middle.  We had no rubber bands so we used string to stop it from undoing.

img_0254

We made the dye by mixing the dye powder with warm water and salt.  We put the dye in squeezy bottles so it was easy to put the dye on the t-shirts.  Next we dyed our t-shirts by squirting the dye in random places.  We suggest wearing gloves or something on your hands so you don’t end up with colourful hands.

img_0255 img_0256 img_0257 img_0258 img_0259 img_0261 img_0263 img_0264 img_0265 img_0266 img_0268 img_0270 img_0271

We put our t-shirts in a bucket of cold water to set the dye into the cotton.  Then we rinsed them in warm water to get rid of any dye that didn’t soak into the t-shirt.

img_0277 img_0279

Final results.

img_0282 img_0283 img_0284 img_0285

Left to dry on the washing line.

img_0287

We really enjoyed doing this, it was really fun and we had great results.  We didn’t think they would turn out this well but they did.  They look amazing.  We can’t wait to wear them.

Rainforest Cocoa Bean Madness Game

We have been learning about the Amazon rainforest.  Part of our topic was to create a game.

We brainstormed our ideas on a board about what we might see or come across if you were in the rainforest and then we chose the best ones to make our game.

We decided to make a game where you had to collect cocoa beans as you went through the forest, but you met good and bad things as you went.

We called our game Cocoa Bean Madness.

Firstly we cut out lots of cocoa beans and coloured stones and other bits, which we had printed from the internet.  We used the stones to design the game and we used various bugs, villages and animals as ‘to do’ spots.  We made our own spinner which worked well.   We chose and printed out our own explorers as our moveable piece.  We also decorated the board to make it more colourful, with trees, rivers and other animals and flowers.

img_9777 img_9778 img_9781 img_9782

The rules were, you use the spinner to move around the board and every stone you land on you collect a cocoa bean, but if you landed on a tiger you had to go back to the start, or if you landed on a spider you had to lose all your beans.  If you landed on a village you collected 4 extra beans and if you landed on a parrot you get to go to the nearest village.  The winner was the person with the most cocoa beans when everyone had finished.

img_9783 img_9780

img_0288

It’s a lot of fun to play this game and the coolest thing about it is we created it and made it ourselves.

Human Body – Our Insides

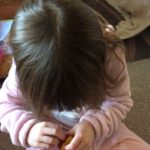
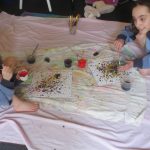
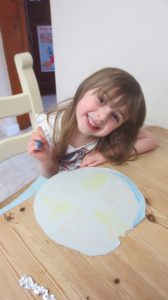
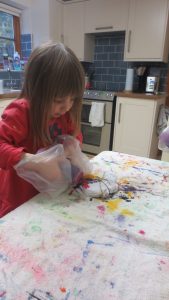
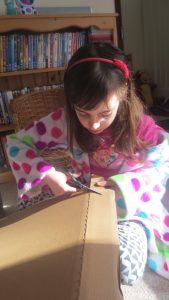
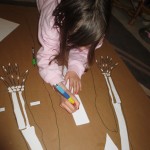
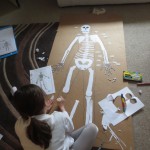
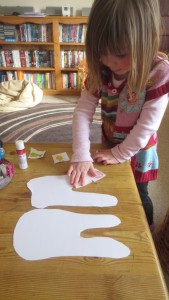
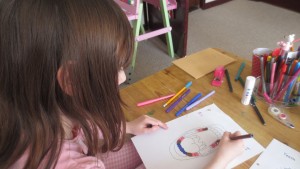
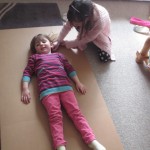
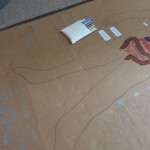
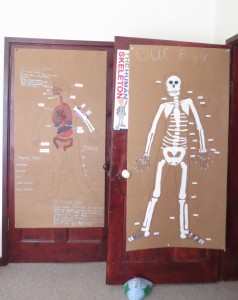
After completing our skeleton we next decided to do our insides, so Elsa drew around Anna (the keeping still part was pretty difficult) 🙂

IMG_8197 IMG_8198 IMG_8199

We had already ordered some information from the British Heart Foundation, which was brilliant and free (donation if you choose).

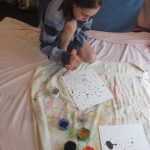
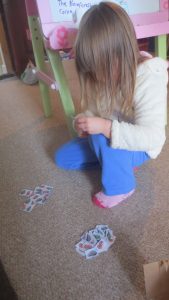
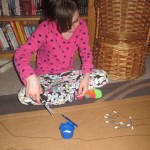
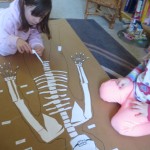
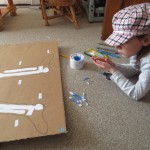
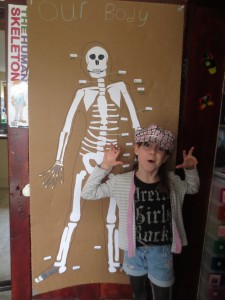
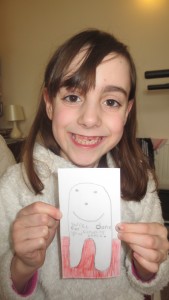
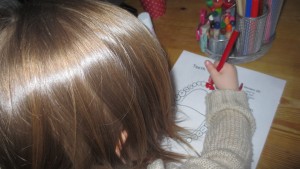
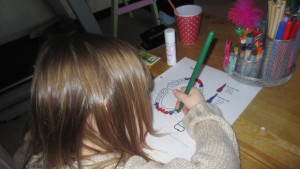
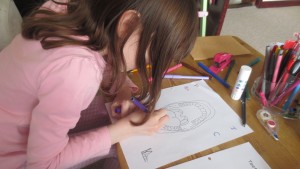
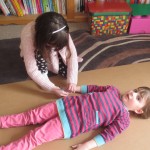
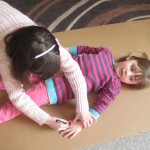
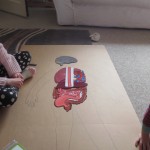
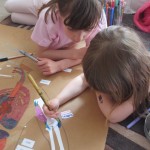
We discussed the different organs and what they did, then I asked the girls to put the internal organs where they thought they went.

Anna’s attempt was not bad, but I guess having your brain in your neck could cause a problem and maybe having the oesophagus that way round might make it difficult to eat. 🙂  Elsa’s was near on perfect with the placing of them, not the order though.  Well done girls.

IMG_8202 IMG_8204

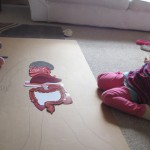
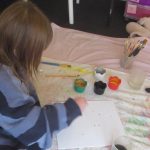
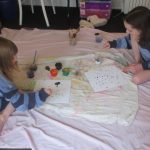
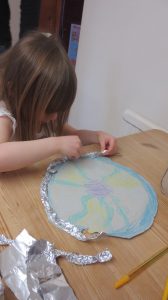
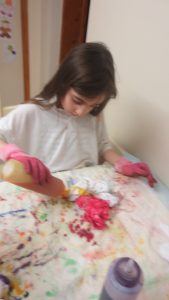
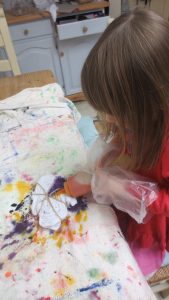
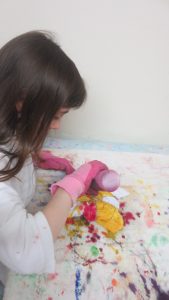
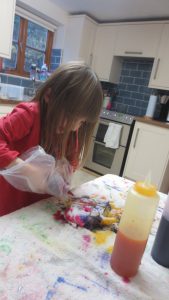
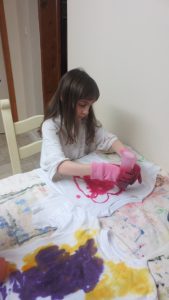
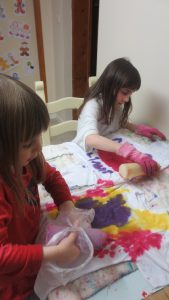
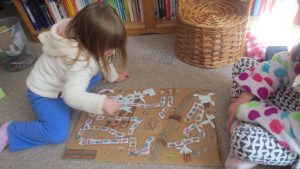
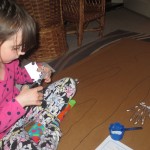
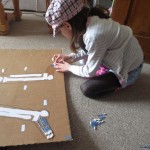
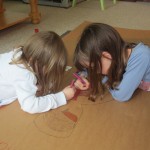
Next we drew the organs onto the life size drawing of Anna, which the girls had fun doing.

IMG_8205IMG_8342 IMG_8343IMG_8441

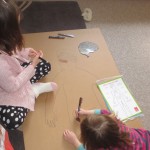
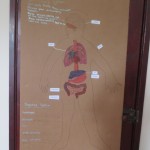
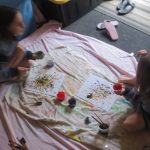
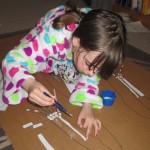
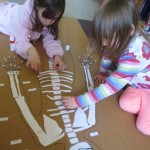
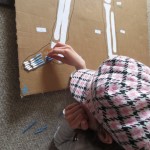
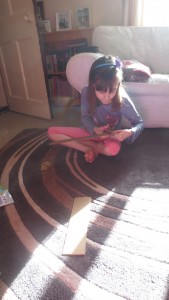
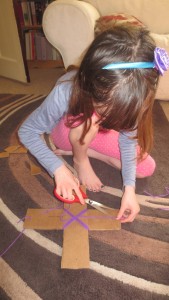
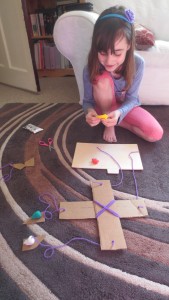
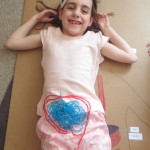
We discussed the large and small intestines in a bit more in depth.  To give perspective, we measured out the actual lengths of them with wool.  The small intestine is 4 times as long as you are tall, and the large intestine is as long as you are tall,  The girls found it fascinating trying to fit it all in the little space in the body.  As you can see we did it perfectly 😉  We also watched a short video which shows the route of the digestive system, which was funny.

IMG_8301 IMG_8300 IMG_8302 IMG_8299

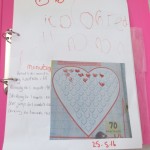
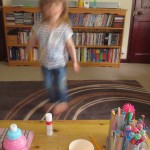
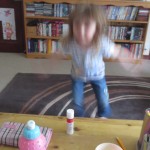
Next job was talking more about the heart and what job it does (very important if you didn’t know) 😉 We did an experiment involving pulse rates, we took resting pulse, then did a minute each of star jumps, running, skipping and dancing to see what happened to our heart rates.  The girls enjoyed doing this and even made me do it.

IMG_8439a IMG_8440a IMG_8382 IMG_8377 IMG_8385 IMG_8383

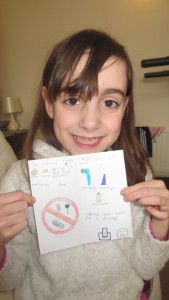
We talked about the respiratory system and how that works.  We drew and labelled the parts on our body drawing.

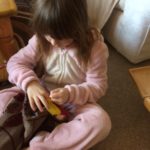
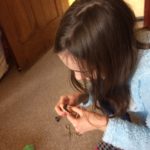
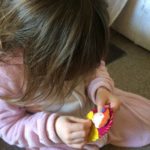
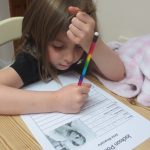
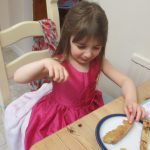
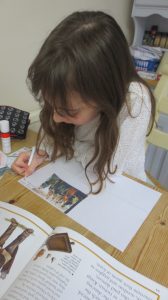
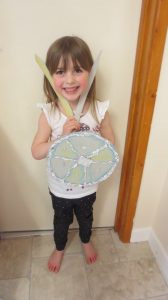
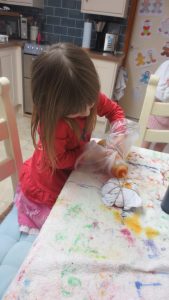
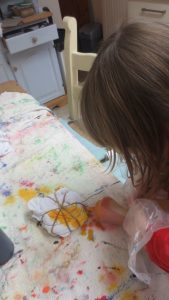
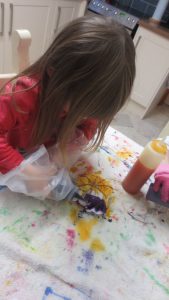
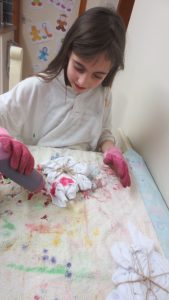
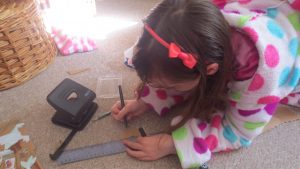
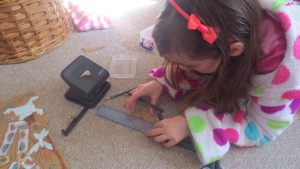
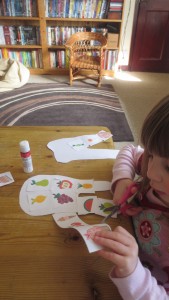
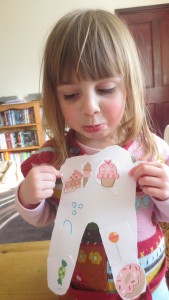
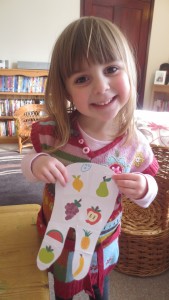
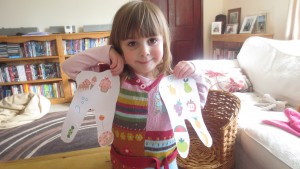
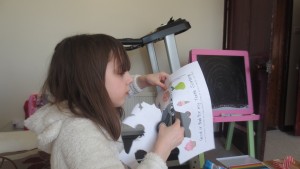
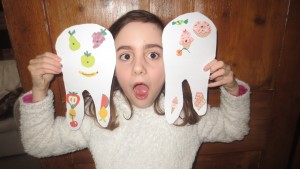
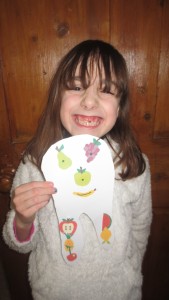
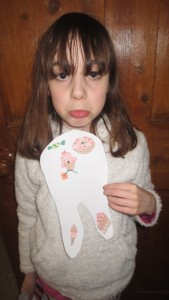
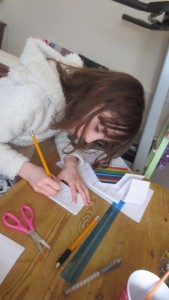
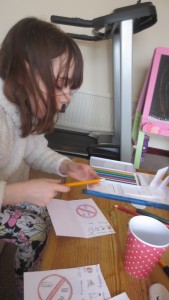
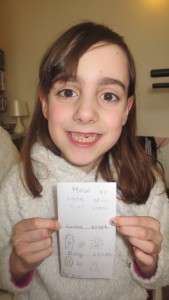
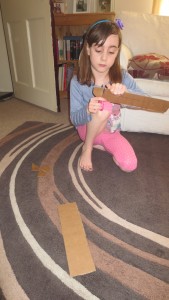
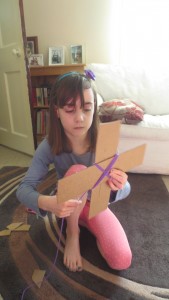
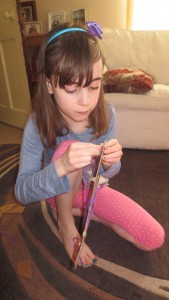
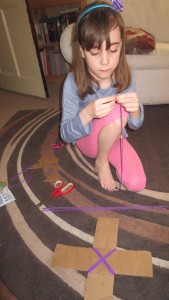
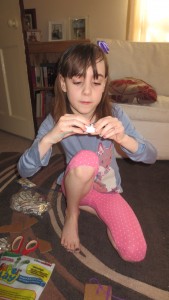
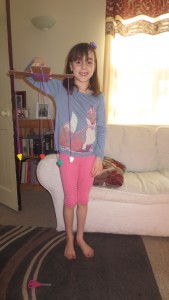
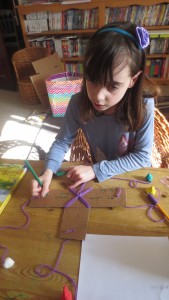
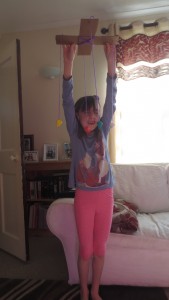
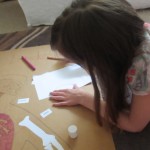
The final part of this topic was a discussion about muscles and tendons.  We talked about how they work in pairs, how many there are, what the tendons are there for and then we made a tendon hand which was fun, then Elsa wrote down what she remembered about what we had learned.

IMG_8567 IMG_8566 IMG_8568 IMG_8569

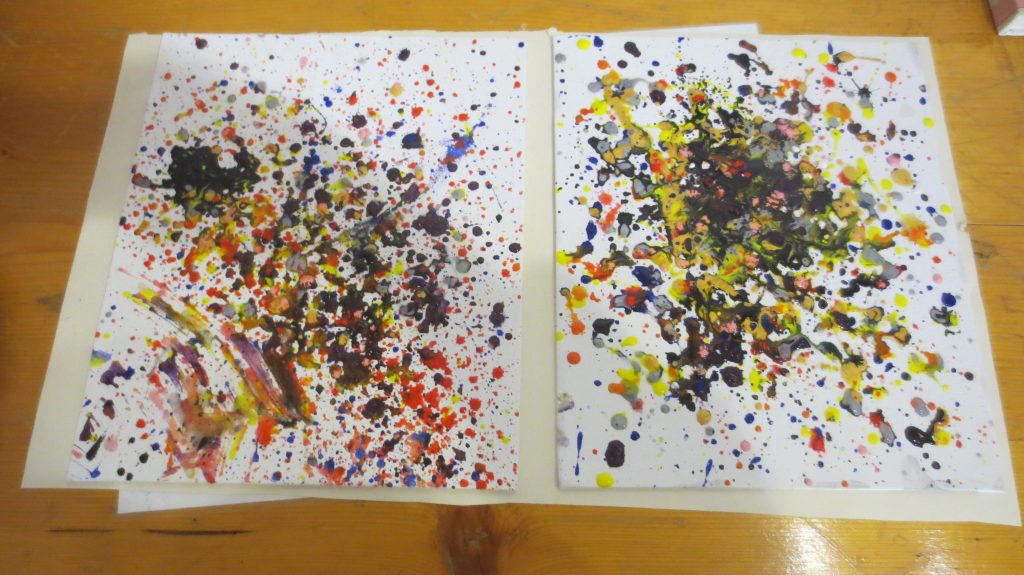
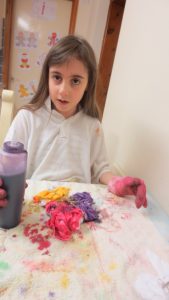
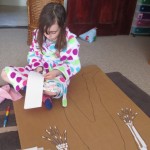
Our completed drawings look great (and very busy) 🙂

IMG_8570

This has been a very interesting topic and we will come back to it in more depth in the future.

Human Body – Skeleton

Elsa decided that this terms topic would be the Human Body.  We had already completed a sub topic on teeth before Easter due to the fact that we had all been to the dentist.

The last couple of weeks we have been learning about the skeleton bones.  Firstly, we chatted about the skeleton as a whole and what we needed it for.  Then I downloaded a skeleton labelling sheet from Twinkl.  Finally, I drew around Elsa so we had a life sized shape to stick our bones on to, (which was obviously very tickly).

IMG_7671 IMG_7701

I asked Elsa where she wanted to start and she said hands and arms.  So we started there, using cotton buds as the phalanges.  Elsa said she didn’t realise there were so many bones in the hands and wrists.

IMG_7706 IMG_7711

Next we did the bones in the arms.  We stuck on the labels off the Twinkl sheet (which uses the proper bone names), she also labelled them with the common names we use for them too.

IMG_7713 IMG_7715

The next day, we did the skull, shoulders and collar bones.  Anna was here to help us this time, so it was nice for Elsa to explain to her the bones we had already completed.

IMG_7761 IMG_7760

Next, we added the spine and ribs and sternum.

IMG_7762 IMG_7766 IMG_7767

Finally, it was the pelvis and legs, feet and toes.

IMG_7780 IMG_7781 IMG_7783 IMG_7784 IMG_7785

Our finished skeleton.

IMG_7787

Next stop the internal organs 🙂


Human Body – Teeth

Our new topic is the human body which we will be starting after the Easter holidays, but as we had been to the dentist this week, I thought it might be a good idea to learn about teeth while the visit was still fresh in the girls minds.

We talked about the number of teeth we had and the girls counted each others teeth while using a torch to look at the different types of teeth.

IMG_7396 IMG_7397

We talked about which foods were good for your teeth and which ones weren’t, then I printed off some pages of foods and drew some teeth for the girls to decide which foods should go where. Anna drew a happy tooth and a sad face on her teeth. 🙂

IMG_7403 IMG_7406

IMG_7410 IMG_7411

IMG_7409

Elsa designed her foods into sad and happy faces on her teeth. 🙂

IMG_7408 IMG_7416

IMG_7415 IMG_7413

I asked Elsa to create a leaflet to help people to look after their teeth.  She decided to explain what were good and bad things to eat and then described how to brush your teeth properly.  She was really pleased with how it came out (and so was I), clever little thing. 🙂

IMG_7398 IMG_7399

IMG_7400 IMG_7402 IMG_7401

We chatted about the various adult teeth and the jobs they did.  Then I asked the girls to colour in the different teeth different colours.  Elsa had to write her own text about the teeth and we discussed the use (or not) of wisdom teeth.

IMG_7458 IMG_7461 IMG_7538 IMG_7539

IMG_7541 IMG_7463

What an interesting start our Human Body topic. 🙂


Roman Roads

One of the things I love most about home educating is the fact we can be really spontaneous.  So when we were finishing off our Romans topic this week we were learning about why, where and how they built their roads.

During our research we found out they used a groma which was a Roman surveying instrument, to help them build them in straight lines.

Spontaneous head on I asked ‘would you like to make a groma Elsa’?

‘Yes please’ came the excited reply (anything to get out of writing). 🙂

So we discussed what we would need to make one and collected everything together.

Firstly, Elsa created her cross beams (out of cardboard) and used wool to fix them together.  She then made a hole at the end of each of the pieces of card.

IMG_7379 IMG_7380 IMG_7381 IMG_7382

She put a piece of wool at through the holes in the card to hang the weights off.  She created 4 weights out of clay and took bits off them to ensure it was straight.

IMG_7383 IMG_7384 IMG_7385 IMG_7386 IMG_7387

Using her knowledge of Roman numerals she wrote the date 🙂

IMG_7389

I’m not sure if this is exactly how you used it in Roman times, however Elsa put it up high so she could see when the opposite weights were in a straight line.

IMG_7388

This was great fun to make and we used it to see if it worked.  It did 🙂


Burgh Castle Field Trip

Our recent topic is Romans and we have done a variety of subjects on it including Boudicca, mosaics, Hadrian’s Wall and Gods.

IMG_7284 IMG_7285

To find out about Roman buildings we went to Burgh Castle. Mummy made a field trip sheet to fill in, but Anna didn’t do it so Nanny did it for her.

The sheet asked us to see what it was made of and I thought it was made of stone, clay, brick and flint.

I took some pictures of the layers in the wall.

Layers of the wall IMG_7294 Flint in the wall

Next we had to look for the bastions. A bastion is there to help defend the castle. We saw 6 bastions but there would have been more.

bastion outer

These are my pictures of the different bastions we could see.

A collapsed bastion Bastion 2 Bastion 1 Castle wall Bastion join

These are holes in the walls where the bricks have fallen out and they are not supposed to be there. You could see a bastion through one of the holes. Can you see which one?

 hole in the wall 3 hole in the wall 2 hole in the wall 1

I think this hole might be something to hold a roof up with a wood pillar. There were 7 and they were square so looked like they should be there.

holes for pillars

These walls have either fallen down or are wonky.

Collapsed wall view of the wall

We learnt a lot and had fun exploring!

IMG_7331 IMG_7315 IMG_7319

IMG_7332a