Elsa decided that this terms topic would be the Human Body. We had already completed a sub topic on teeth before Easter due to the fact that we had all been to the dentist.
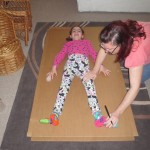
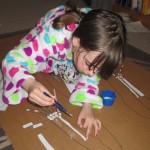
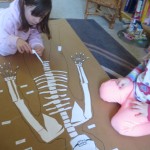
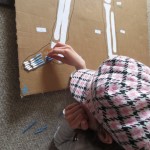
The last couple of weeks we have been learning about the skeleton bones. Firstly, we chatted about the skeleton as a whole and what we needed it for. Then I downloaded a skeleton labelling sheet from Twinkl. Finally, I drew around Elsa so we had a life sized shape to stick our bones on to, (which was obviously very tickly).
I asked Elsa where she wanted to start and she said hands and arms. So we started there, using cotton buds as the phalanges. Elsa said she didn’t realise there were so many bones in the hands and wrists.
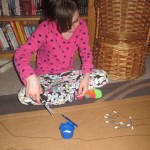
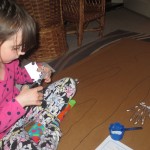
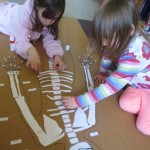
Next we did the bones in the arms. We stuck on the labels off the Twinkl sheet (which uses the proper bone names), she also labelled them with the common names we use for them too.
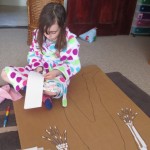
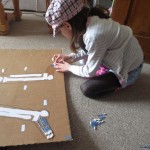
The next day, we did the skull, shoulders and collar bones. Anna was here to help us this time, so it was nice for Elsa to explain to her the bones we had already completed.
Next, we added the spine and ribs and sternum.

Finally, it was the pelvis and legs, feet and toes.

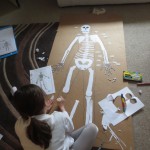
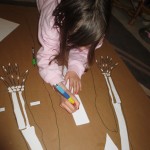
Our finished skeleton.
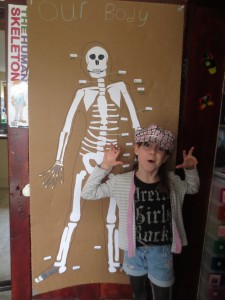
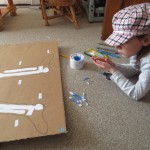
Next stop the internal organs 🙂