Rainforest Cocoa Bean Madness Game

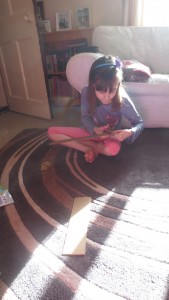
We have been learning about the Amazon rainforest.  Part of our topic was to create a game.

We brainstormed our ideas on a board about what we might see or come across if you were in the rainforest and then we chose the best ones to make our game.

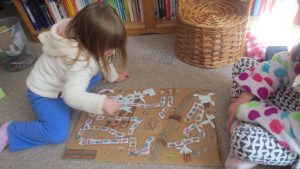
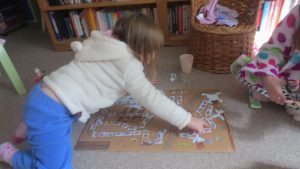
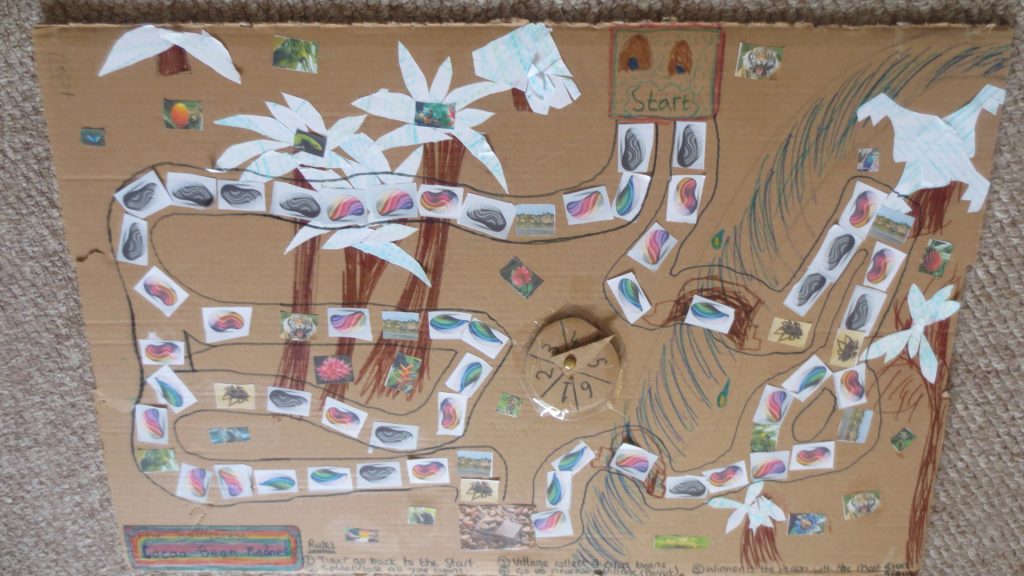
We decided to make a game where you had to collect cocoa beans as you went through the forest, but you met good and bad things as you went.

We called our game Cocoa Bean Madness.

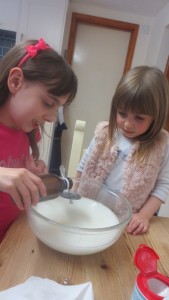
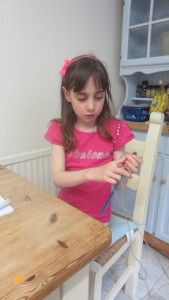
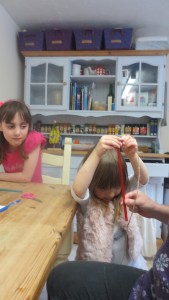
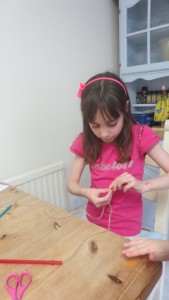
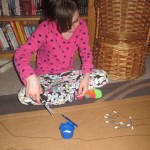
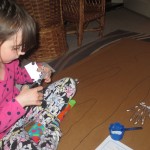
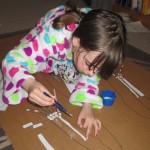
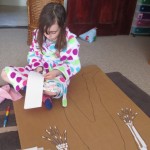
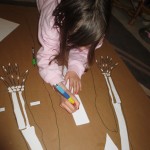
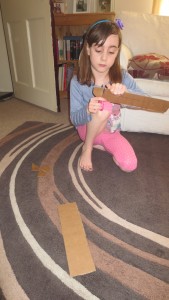
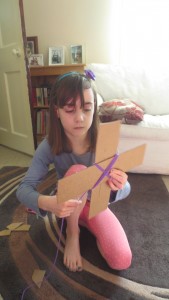
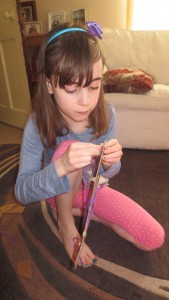
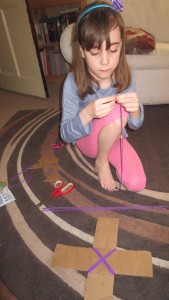
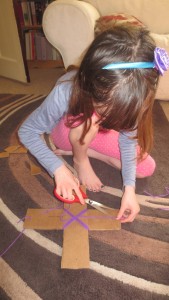
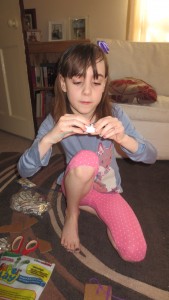
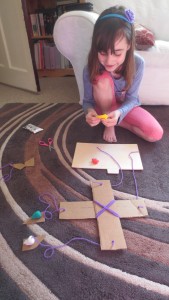
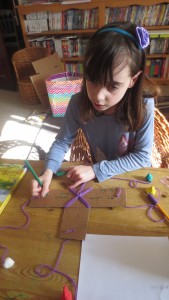
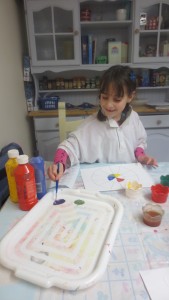
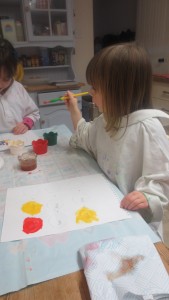
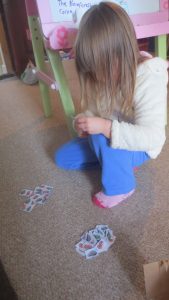
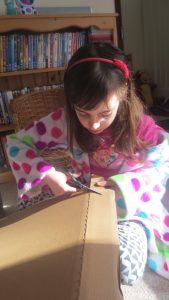
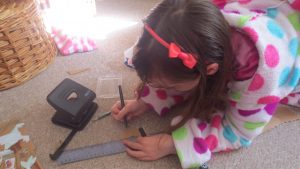
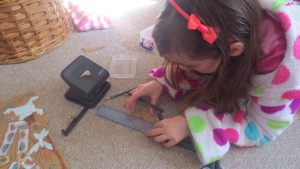
Firstly we cut out lots of cocoa beans and coloured stones and other bits, which we had printed from the internet.  We used the stones to design the game and we used various bugs, villages and animals as ‘to do’ spots.  We made our own spinner which worked well.   We chose and printed out our own explorers as our moveable piece.  We also decorated the board to make it more colourful, with trees, rivers and other animals and flowers.

img_9777 img_9778 img_9781 img_9782

The rules were, you use the spinner to move around the board and every stone you land on you collect a cocoa bean, but if you landed on a tiger you had to go back to the start, or if you landed on a spider you had to lose all your beans.  If you landed on a village you collected 4 extra beans and if you landed on a parrot you get to go to the nearest village.  The winner was the person with the most cocoa beans when everyone had finished.

img_9783 img_9780

img_0288

It’s a lot of fun to play this game and the coolest thing about it is we created it and made it ourselves.

Making Big Bubbles

While we were in Wales, we bought some big bubbles but we decided to see if we could make own mixture for when we ran out.

We found a recipe on a website called Steph’s two girls and decided to see if it would work for us.

This is the recipe we used.

  • 6 cups of water
  • 1/2 a cup of cornflour
  • 1/2 a cup of washing up liquid
  • 1 tbsp. of glycerine
  • 1 tbsp. of baking powder

First we put 6 cups of water in a big bowl.

img_9650 img_9651

Then we added cornflour  and stirred it well.

img_9652 img_9653

Next we added baking powder, glycerine and washing up liquid.

img_9654 img_9655 img_9656

Then we stirred it gently and our spoons got caught together which made us giggle . 🙂

img_9657 img_9658

While we left it for a hour to settle we used straws and string to make another big bubble blower. We slid the string through the straws.

img_9659 img_9661 img_9663

Then we pulled funny faces through the big bubble blower.

img_9667 img_9665

We had fun, we managed to blow bubbles in all shapes and sizes.

img_9668 img_9670 img_9705 img_9704

We made BIG BUBBLES which was fun.

bubbles-1 bubbles-2

Some of our bubbles just floated about.

img_9688 img_9687

WE LOVED IT!

Matisse – Art Project 2

The art curriculum we are using had several art pieces to do by Henri Matisse.  This one was inspired from his Icarus cutout.  We decided to use paint instead of paper for the main part of the picture.

Firstly we drew round Anna to get the rough outline of our painting.

IMG_8575

Next we changed the shape so it was more fluid and similar to the original then started painting it in the same colours he did his cutouts from.

IMG_8578 IMG_8585 IMG_8589

Next we cut out random stars and stuck them on.  Elsa painted on the heart.

IMG_8590 IMG_8592

Final painting.  This turned out really well.  The girls enjoyed doing it, it was lovely to spend time outside in the sunshine.

IMG_8595


Learning about Famous Artists – Henri Matisse

Lesson 3 of the Famous Artists curriculum, and this time it’s Henri Matisse.  Elsa researched him and we chatted about the different styles of art he did.  He is most famous for his painting/drawing with scissors which is basically a collage.  He used a lot of organic shapes and very few straight edges.  We had already done a name panel in this design so we decided to do his banner style this time.

Elsa decided one half of her banner was going to be a superhero style cutouts with Batman, Dangermouse and Star Wars all making an appearance.  The other side was more organic and like the style of Matisse a little more.

To start with she cut out different coloured rectangles and stuck them down in two strips, then cut and placed the various things she wanted to put on it to see how they fitted.  After moving them around for the best look, she stuck them down.

IMG_8494 IMG_8495 IMG_8497

IMG_8498

This was great fun.  I know that because I did one too. 🙂

Learning about Famous Artists – Claude Monet

Lesson two of the famous artists curriculum.  I love the fact we can just pick these up as we feel like it.

We went for a nature walk (included as a different post) and as we got to the lake at the end of the lane, what should we see but lily pads all over it.  After a quick discussion with the lady at the house she said we were allowed to sit on her boardwalk.  We went back the next day with pens, pencils and crayons and drew them.

IMG_8276 WP_20160505_004 WP_20160505_005 IMG_8279 IMG_8282 IMG_8281 IMG_8277

When we got back we had a look in our art book and the next artist was Claude Monet.  I couldn’t believe it.  Anyway we decided to try and recreate his lily pad watercolour paintings which he did in his back garden at Giverny.

IMG_8288  IMG_8285 IMG_8284 IMG_8287 WP_20160506_001

We also had a chat about Monet, where he lived and what the term impressionism meant.  Elsa had to also do a little written biography on him where she found out that the impressionism term came from one of his paintings, Impression Sunrise.

Elsa and Anna both enjoyed doing watercolours (neither of them used enough water though 🙂 ) and the results were really nice.

WP_20160506_002 WP_20160506_003

Human Body – Skeleton

Elsa decided that this terms topic would be the Human Body.  We had already completed a sub topic on teeth before Easter due to the fact that we had all been to the dentist.

The last couple of weeks we have been learning about the skeleton bones.  Firstly, we chatted about the skeleton as a whole and what we needed it for.  Then I downloaded a skeleton labelling sheet from Twinkl.  Finally, I drew around Elsa so we had a life sized shape to stick our bones on to, (which was obviously very tickly).

IMG_7671 IMG_7701

I asked Elsa where she wanted to start and she said hands and arms.  So we started there, using cotton buds as the phalanges.  Elsa said she didn’t realise there were so many bones in the hands and wrists.

IMG_7706 IMG_7711

Next we did the bones in the arms.  We stuck on the labels off the Twinkl sheet (which uses the proper bone names), she also labelled them with the common names we use for them too.

IMG_7713 IMG_7715

The next day, we did the skull, shoulders and collar bones.  Anna was here to help us this time, so it was nice for Elsa to explain to her the bones we had already completed.

IMG_7761 IMG_7760

Next, we added the spine and ribs and sternum.

IMG_7762 IMG_7766 IMG_7767

Finally, it was the pelvis and legs, feet and toes.

IMG_7780 IMG_7781 IMG_7783 IMG_7784 IMG_7785

Our finished skeleton.

IMG_7787

Next stop the internal organs 🙂


Learning about Famous Artists – Pablo Picasso

As I’ve said before, Elsa is more of a crafy type of person, more hands on.  So am I really too.

I love art, particularly impressionism, so I thought it would be nice to introduce her to different artists from over the years.

I was searching for something I thought might be suitable when I stumbled upon the Pink and Green Mama website, There are several artist ebooks you can download for a small fee.  I chose the 3rd one, but I think any of them would be interesting to do.

So today we started with Pablo Picasso and his blue period. We talked a little bit about Pablo Picasso, where and when he was born, what type of art he did and why he went through his blue period (1900 – 1904).

I had bought some art books and paintbrushes from The Works, so we were ready to give it a try.

Firstly we sketched our portraits, then using blue, white and black paints we created different shades and tones to create our pictures.  This was a really interesting project for me to see if they could use just 3 colours effectively.  They did. 🙂

IMG_7772 WP_20160415_009 WP_20160415_007 IMG_7774 WP_20160415_010 IMG_7773A

Finished artwork 🙂

IMG_7775 IMG_7776


Easter 2016

We don’t break up officially for any holidays.  If we fancy some time off, we take it.  This is one of the beauties of Home Education, however we do learn a bit about all of the various holidays we would be taking if we were at school.

This includes learning about the proper meaning of them, why we celebrate them and doing various crafts.

One of the Easter crafts we did was some decoupage. I’d never done it before and we saw it mentioned online, so we popped in to our local Hobbycraft to see at what they had available.  The girls each chose a basket and a rabbit, which were cheap at £2 and some papers (which varied between £2 and £3.80 for 3.

We just ripped the paper into smaller pieces, watered down our pva glue and off they went.

It’s great fun, it kept the girls occupied for ages and as it doesn’t really matter how much glue you get on it, little ones can do it independently.

IMG_7548 IMG_7549 IMG_7553 IMG_7552

Elsa did a co-ordinates sheet which we found on Activity Village, she had to place the co-ordinates in the correct squares to produce an Easter picture.  She thought this was great fun.

IMG_7577 IMG_7578 IMG_7583

I found a great little Easter Maths booklet on Twinkl.  🙂 Anna decided she’d like to start on that, she started with her least favourite pastime of colouring.  I don’t understand why she doesn’t enjoy it, she’s really good at it.

IMG_7575 IMG_7576

After that she wanted to do a number sheet.  She’s really doing well with her number work.

IMG_7580 IMG_7582

There was a great game in the maths booklets which we all played together.  You had to throw 2 dice and add them together and then colour the relevant egg.  The one with the most eggs coloured at the end of the game (in our case 10 throws each) won.  It was a bit easy for Elsa, but we all enjoyed it and Anna won. 🙂

IMG_7584 IMG_7585  IMG_7586 IMG_7588

What a busy Easter. 🙂

Roman Roads

One of the things I love most about home educating is the fact we can be really spontaneous.  So when we were finishing off our Romans topic this week we were learning about why, where and how they built their roads.

During our research we found out they used a groma which was a Roman surveying instrument, to help them build them in straight lines.

Spontaneous head on I asked ‘would you like to make a groma Elsa’?

‘Yes please’ came the excited reply (anything to get out of writing). 🙂

So we discussed what we would need to make one and collected everything together.

Firstly, Elsa created her cross beams (out of cardboard) and used wool to fix them together.  She then made a hole at the end of each of the pieces of card.

IMG_7379 IMG_7380 IMG_7381 IMG_7382

She put a piece of wool at through the holes in the card to hang the weights off.  She created 4 weights out of clay and took bits off them to ensure it was straight.

IMG_7383 IMG_7384 IMG_7385 IMG_7386 IMG_7387

Using her knowledge of Roman numerals she wrote the date 🙂

IMG_7389

I’m not sure if this is exactly how you used it in Roman times, however Elsa put it up high so she could see when the opposite weights were in a straight line.

IMG_7388

This was great fun to make and we used it to see if it worked.  It did 🙂


Learning About Colours and Shades

I thought it might be a nice idea to teach Anna about the principles of colour in that you really only need 3 colours to make a variety of different ones.

I created 2 different types of colour wheels (well Anna’s wasn’t a wheel at all, but still).

We chatted about the primary colours, mixing colours and what happens if you add more or less of one colour.

The girls then set about making their colour charts.

IMG_7180 IMG_7181

This was a good exercise for Elsa as it showed her that to make darker or lighter shades all she had to do was add more or less of one of the primary colours.

IMG_7182 IMG_7183

Finished chart/wheel.

IMG_7185 IMG_7186

This was a fun and useful activity for both girls. 🙂