Homemade Crystals using eggshells

We are always thinking how we can do science at home and one day Elsa asked if we could make crystals. So…. we popped to our local library and found a at home science book which had it in.

It looked too easy to be true as you only needed 5 things (eggs, water, alum powder, pva glue and food colouring). First of all we emptied the egg shell of the eggs (we made cupcakes), then washed them and left them to dry.

Then we painted a little PVA glue to the inside of the shell and sprinkled it with alum powder, then again we had to wait for them to dry.

We mixed up 2 parts warm water to 1 part alum powder and then added different food colouring. We stirred it for what seemed forever until it had all disolved.

We put the eggshells into the different mixtures overnight. The next day we removed them and placed them on paper towels to dry out.

These were the results. They worked pretty well.

Tutor Group – Home Education Is Not Always At Home

Once a week on Fridays,  I go to a tutor group with other home educated children where we do formal Science, English, Maths and History/Geography.   We get given homework most weeks but we don’t get homework from Science or Maths on the week before half term.  School holidays still apply to tutor group.

At the moment we are learning about the internal organs of the human body in Science.
In English we are learning about A Midsummer Nights Dream and the language that Shakespeare uses in the play.
In Maths we are learning about coordinates and how to plot them various ways.
Last but certainly not least in History/Geography we are learning about Japan.

All of the subjects are interesting.

The lessons are an hour long and we have Science and English before lunch and Maths and History afterwards.

KS2 and KS3 are in a class together so the works is pitched somewhere between the two.  Some work is a bit harder for the younger ones in the group.  Those doing GCSE levels are put in a separate class.

Another really good thing is we (the students) have an input into what we would like to learn about.  So this term we as a group, chose Japan which we thought would be an interesting topic.

It’s a good time to see my friends and if you send your children or you come to the one I go to.  I will introduce you to my friends then you can sit with us.  (you may even already know someone there).

I would fully recommend it to everyone.

Forensic Science – Fingerprints

As Home Educators we are very lucky that we have lots of parents who will organise lots of interesting topics for the children to study.  One such topic was forensic science taught by real forensic police. 🙂

When we arrived at the venue there was a ‘crime scene’ set out. After an introduction about the day and what would be happening, the children were first shown different ways of getting DNA samples from a scene. These were in little sachets and the children had to guess what these might be.

Next it was taking fingerprints and using a magnifier to look more closely at them. They talked about the differences in peoples prints (these include simple loops, double loops, arches and whorls).

Next, it was get suited up so as to not contaminate the scene and then they were given a CD with prints on.  They had to find them using a special brush with the fingerprint dust on. They were told and shown how to do this. They had special tape to lift the prints and then using the magnifier they were to compare the fingerprints with the suspect list and then decide which suspect was guilty.

This was a fascinating subject and Elsa enjoyed it immensely.


Science – DNA

In January we had a special science lesson with a DNA expert.  She explained all about DNA, how many there are, where it is, what it looks like and how big it is (it’s tiny).

We then did a DNA extraction experiment. We were extracting DNA from a banana. Firstly we had to peel, chop and crush the banana.

WP_20170120_001 WP_20170120_002 WP_20170120_003 WP_20170120_005 WP_20170120_004

We then added some warm water and mushed the banana some more.

WP_20170120_006 WP_20170120_007

We then filtered it into a beaker so we just had the liquid.

WP_20170120_010 WP_20170120_011 WP_20170120_012

When we had just the liquid, the lady added some pure alcohol to it.  This caused the DNA strands to separate from the liquid.

WP_20170120_013

The DNA strands floated on the top of the liquid.

WP_20170120_015

They separated instantly from the liquid once the alcohol was added.

This lesson was lots of fun.

Making Big Bubbles

While we were in Wales, we bought some big bubbles but we decided to see if we could make own mixture for when we ran out.

We found a recipe on a website called Steph’s two girls and decided to see if it would work for us.

This is the recipe we used.

  • 6 cups of water
  • 1/2 a cup of cornflour
  • 1/2 a cup of washing up liquid
  • 1 tbsp. of glycerine
  • 1 tbsp. of baking powder

First we put 6 cups of water in a big bowl.

img_9650 img_9651

Then we added cornflour  and stirred it well.

img_9652 img_9653

Next we added baking powder, glycerine and washing up liquid.

img_9654 img_9655 img_9656

Then we stirred it gently and our spoons got caught together which made us giggle . 🙂

img_9657 img_9658

While we left it for a hour to settle we used straws and string to make another big bubble blower. We slid the string through the straws.

img_9659 img_9661 img_9663

Then we pulled funny faces through the big bubble blower.

img_9667 img_9665

We had fun, we managed to blow bubbles in all shapes and sizes.

img_9668 img_9670 img_9705 img_9704

We made BIG BUBBLES which was fun.

bubbles-1 bubbles-2

Some of our bubbles just floated about.

img_9688 img_9687

WE LOVED IT!

Human Body – Our Insides

After completing our skeleton we next decided to do our insides, so Elsa drew around Anna (the keeping still part was pretty difficult) 🙂

IMG_8197 IMG_8198 IMG_8199

We had already ordered some information from the British Heart Foundation, which was brilliant and free (donation if you choose).

We discussed the different organs and what they did, then I asked the girls to put the internal organs where they thought they went.

Anna’s attempt was not bad, but I guess having your brain in your neck could cause a problem and maybe having the oesophagus that way round might make it difficult to eat. 🙂  Elsa’s was near on perfect with the placing of them, not the order though.  Well done girls.

IMG_8202 IMG_8204

Next we drew the organs onto the life size drawing of Anna, which the girls had fun doing.

IMG_8205IMG_8342 IMG_8343IMG_8441

We discussed the large and small intestines in a bit more in depth.  To give perspective, we measured out the actual lengths of them with wool.  The small intestine is 4 times as long as you are tall, and the large intestine is as long as you are tall,  The girls found it fascinating trying to fit it all in the little space in the body.  As you can see we did it perfectly 😉  We also watched a short video which shows the route of the digestive system, which was funny.

IMG_8301 IMG_8300 IMG_8302 IMG_8299

Next job was talking more about the heart and what job it does (very important if you didn’t know) 😉 We did an experiment involving pulse rates, we took resting pulse, then did a minute each of star jumps, running, skipping and dancing to see what happened to our heart rates.  The girls enjoyed doing this and even made me do it.

IMG_8439a IMG_8440a IMG_8382 IMG_8377 IMG_8385 IMG_8383

We talked about the respiratory system and how that works.  We drew and labelled the parts on our body drawing.

The final part of this topic was a discussion about muscles and tendons.  We talked about how they work in pairs, how many there are, what the tendons are there for and then we made a tendon hand which was fun, then Elsa wrote down what she remembered about what we had learned.

IMG_8567 IMG_8566 IMG_8568 IMG_8569

Our completed drawings look great (and very busy) 🙂

IMG_8570

This has been a very interesting topic and we will come back to it in more depth in the future.

Human Body – Teeth

Our new topic is the human body which we will be starting after the Easter holidays, but as we had been to the dentist this week, I thought it might be a good idea to learn about teeth while the visit was still fresh in the girls minds.

We talked about the number of teeth we had and the girls counted each others teeth while using a torch to look at the different types of teeth.

IMG_7396 IMG_7397

We talked about which foods were good for your teeth and which ones weren’t, then I printed off some pages of foods and drew some teeth for the girls to decide which foods should go where. Anna drew a happy tooth and a sad face on her teeth. 🙂

IMG_7403 IMG_7406

IMG_7410 IMG_7411

IMG_7409

Elsa designed her foods into sad and happy faces on her teeth. 🙂

IMG_7408 IMG_7416

IMG_7415 IMG_7413

I asked Elsa to create a leaflet to help people to look after their teeth.  She decided to explain what were good and bad things to eat and then described how to brush your teeth properly.  She was really pleased with how it came out (and so was I), clever little thing. 🙂

IMG_7398 IMG_7399

IMG_7400 IMG_7402 IMG_7401

We chatted about the various adult teeth and the jobs they did.  Then I asked the girls to colour in the different teeth different colours.  Elsa had to write her own text about the teeth and we discussed the use (or not) of wisdom teeth.

IMG_7458 IMG_7461 IMG_7538 IMG_7539

IMG_7541 IMG_7463

What an interesting start our Human Body topic. 🙂


Science – PH Indicators

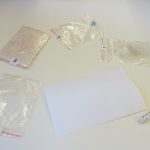
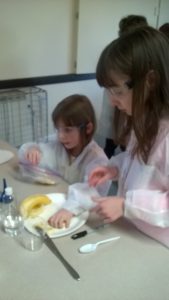
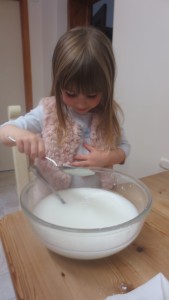
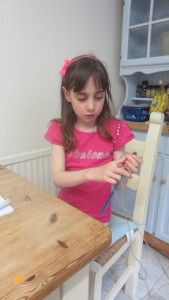
For Christmas, one of the fantastic presents Elsa received was a kitchen chemistry set.  She has been nagging me to try it so this week we did the first experiment which was using a natural indicator to find out whether liquids and powders are acid, alkaline or neutral.

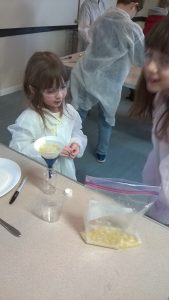
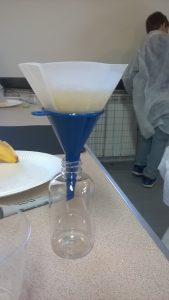
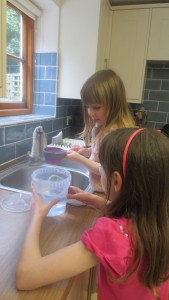
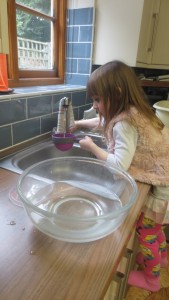
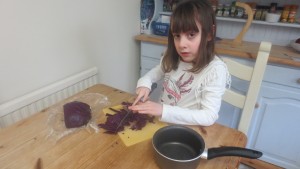
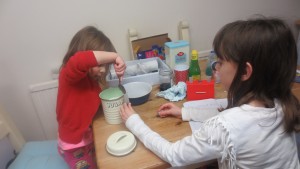
Firstly, to make the natural indicator we had to cut and boil up some red cabbage.  We strained it to keep the juice and left it to cool.

IMG_7138

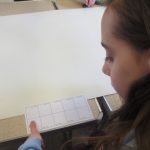
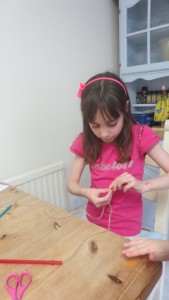
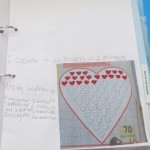
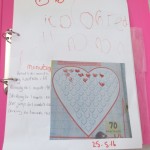
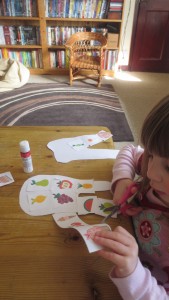
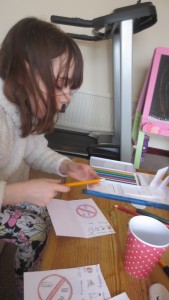
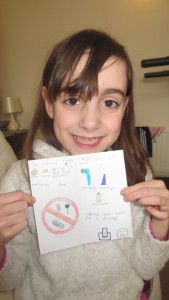
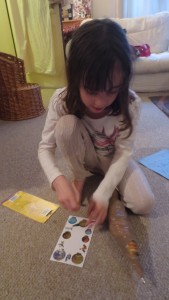
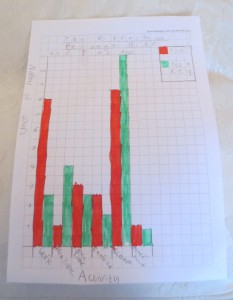
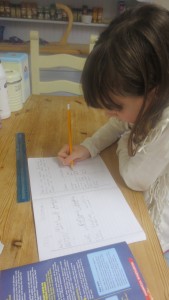
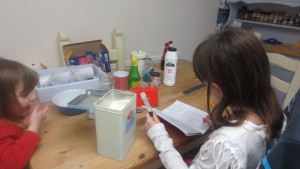
Next, while that was cooling we discussed what we would like to test.  Then she wrote a chart which listed them, included a ‘my guess’ column and a results column.  We chatted about the principles of acids and alkalis so she was able to make a more educated guess.

IMG_7139

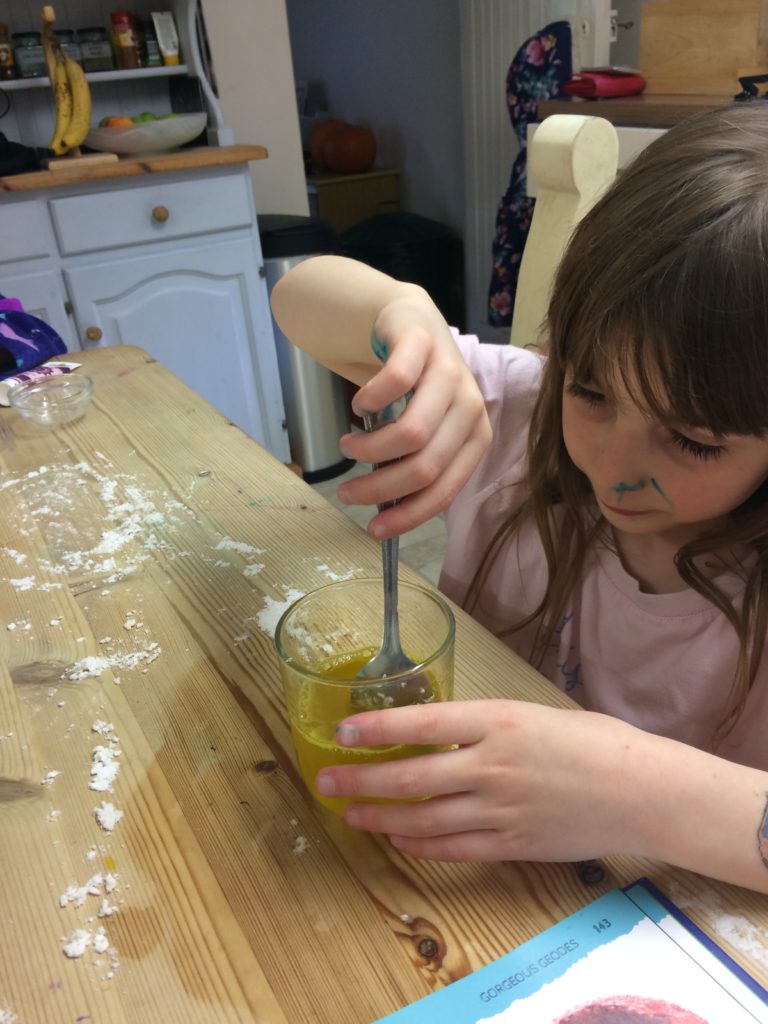
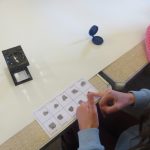
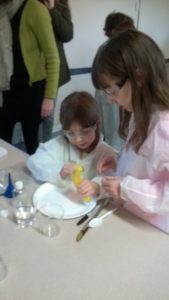
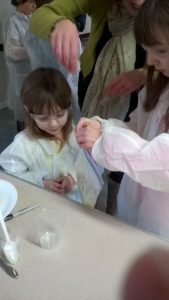
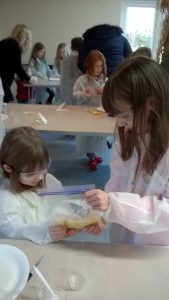
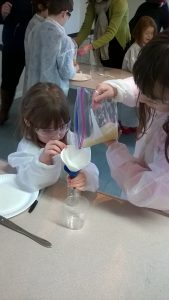
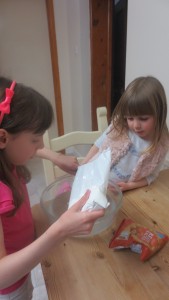
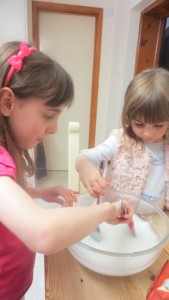
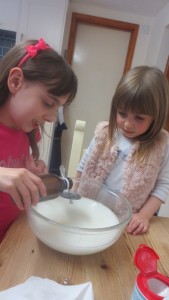
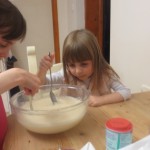
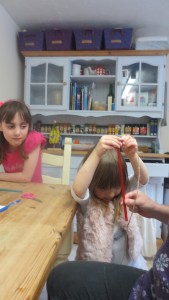
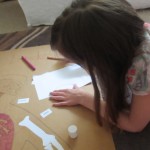
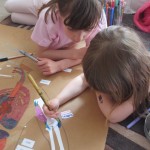
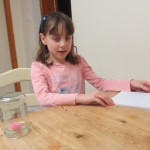
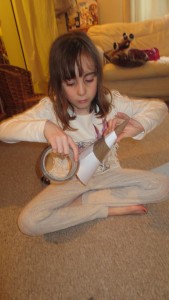
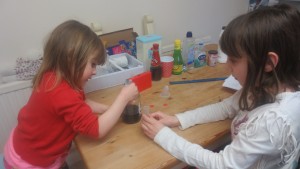
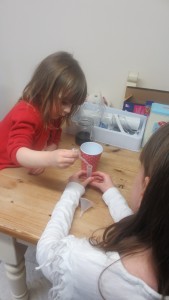
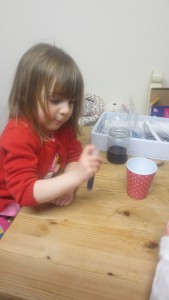
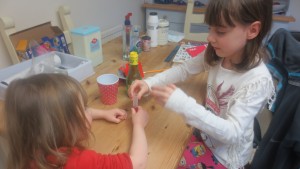
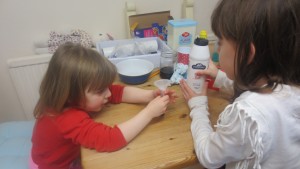
After collecting Anna from nursery, we started our tests.  Firstly the girls had to put a bit of the cabbage juice in some test tubes (indicator) and to each tube they added some of the item they wanted to test.

IMG_7143

Results

Vinegar

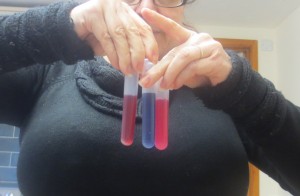
After adding a few drops of the vinegar to the tube the indicator went immediately pink.  This was a good one to start because the result was so quick and obvious, the girls got excited.

IMG_7145

Water

Anna added water to another tube of the indicator and it stayed purple, which meant it was a neutral liquid.
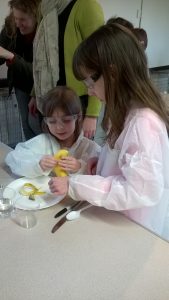
IMG_7146 IMG_7147

Lemon Juice

A few drops of lemon juice to the indicator and it went pink.

IMG_7148

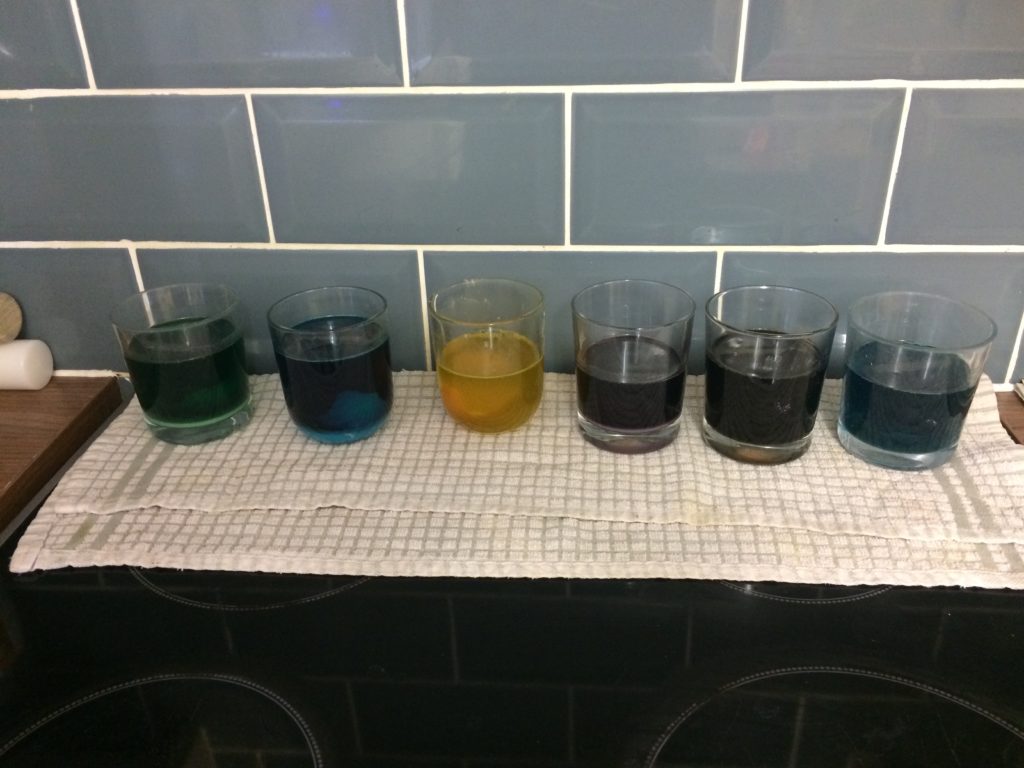
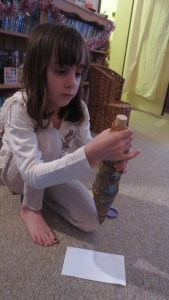
Results of the tubes in order vinegar, water then lemon juice.

IMG_7149

Dishwasher liquid

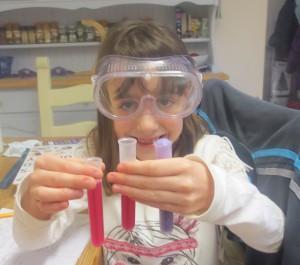
Adding a few drops of the dishwasher liquid and it went bright pink.

Hand Soap

Adding a bit of hand soap to the cabbage water and it went dark pink.

Baking Powder

Not only did adding baking powder to the indicator cause it to stay purple, it fizzed over the top which caused a few giggles.

In order of results – dishwasher liquid, hand soap and baking powder.
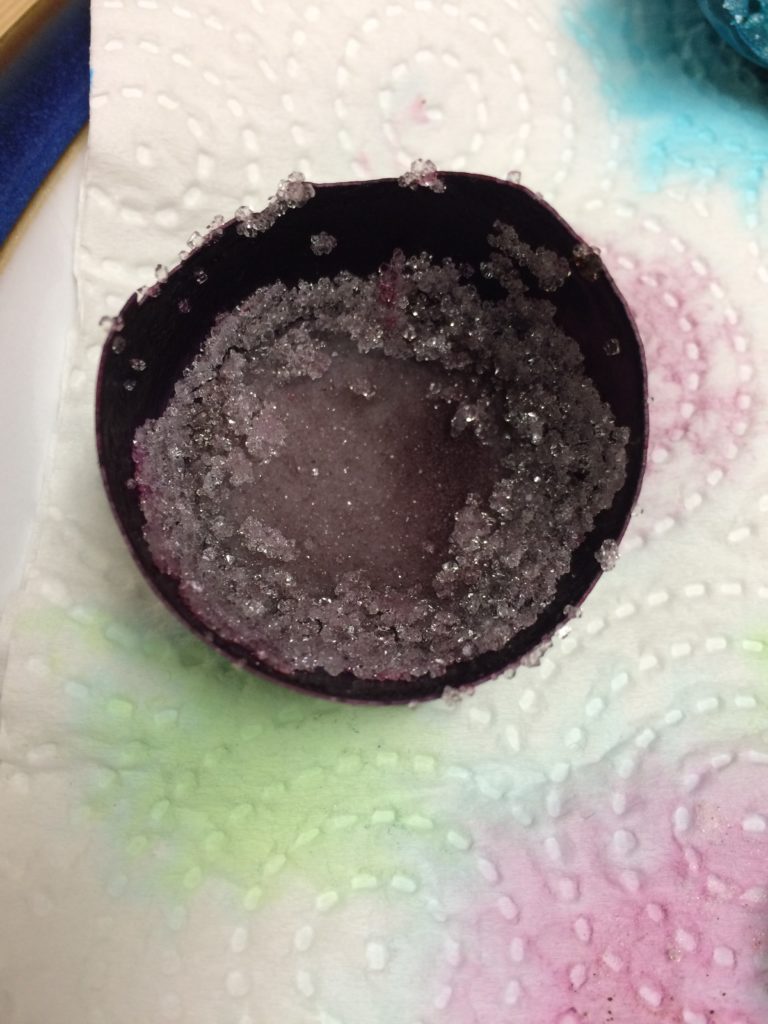
IMG_7152

Salt

Elsa added some salt to the indicator and it stayed purple,

IMG_7155

Sugar

Anna added some sugar to it and it also stayed purple.

IMG_7156

Flour

Adding flour to it changed the colour to light purple but still it stayed purple.

IMG_7157

Final three results salt, sugar and flour.

IMG_7158

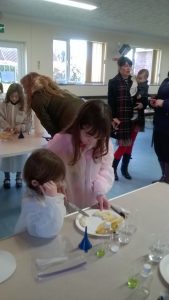
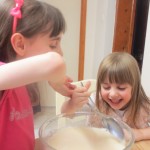
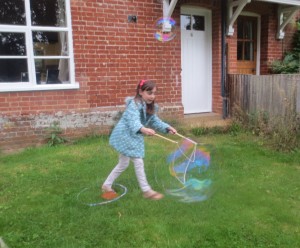
We all enjoyed doing this even if we didn’t guess so well at the results. 🙂

Space Agent – Build a Rocket

The final mission and Elsa has been looking forward to this one the most 🙂

For the final time, we watched Jon’s introduction video. Apparently Little Jon is doing a secret mission.

Science

How does gravity work on earth?

We watched some videos about Isaac Newton, forces and gravity.  Then did an experiment using a jar and ball to see if we could cause enough pull to keep the ball in the jar.  Elsa wrote what was happening and why and spoke about it as we were doing it and we did a video of it to upload to makewaves.

IMG_6628

Mission 6 Part 1 complete

DT & Maths

This task needed us to design and launch our own rocket.  After looking at various different ways to do it, Elsa decided to use a bottle and make a cone to create hers.

Firstly she made a cone out of card and taped it up using parcel tape, she then taped it to the bottom of her bottle and decorated the whole thing.

IMG_6680 IMG_6682

She then put a bit of playdough around the open end as a weight and taped it on.

IMG_6683 IMG_6684

Tah Dah, all finished.

IMG_6686

To launch it she was going to use force from the pump and water.

IMG_6689

We used between 100ml and 400ml of water for the launches to see which one would work best.  Our results were the less water used, the higher and further the rocket went.  We uploaded a video to makewaves.

Mission 6 Part 2 complete

English

Write a letter of support to Tim?

Last task of the challenge was to write a letter in letter format, using full stops, commas and a variety of vocabulary to Tim and post it to him for his return.

Elsa wrote a bit about what she had learned and that she had watched the launch and docking of the Soyus rocket on the 15th December and that she thought the docking would be frightening for them all.  She wished him a good mission. 🙂

IMG_6792 IMG_6793

Mission 6 Part 3 complete

She uploaded all of her work and was issued with not only the launch rocket badge,

build and launch a rocket

but she has also qualified as an Agent of UNSA

Agent of UNSA

This has been a brilliant, interesting project.

Space Cadet – Living in Space

Mission 5 and it’s the penultimate Mission.  This time it was split into Science, Maths and English again.

As always, we watched Jon’s video, this weeks was a little bit sadder as Mini Jon Space Cadet had gone missing.  🙁

IMG_6548

Science

How do we measure a day?

We watched several interesting videos which explained about how the sun affected days and nights on earth.

Elsa and I discussed this and then she drew a picture which showed how this happens and described about the earth revolving on it’s axis affected where it was night and day.

IMG_6634

Mission 5 Part 1 Complete

Maths

How does your day on Earth compare to an astronauts on the ISS?

Elsa know that on the ISS they see a sunrise and sunset every 45 minutes and that they need to sleep to regular time as opposed to following them.

We were given information about what the astronauts do in a 24 hour period and Elsa had to work out her own day, then compare the two. She chose to do a bar chart as it was easier to see the differences.  She then wrote about them on the makewaves website.

IMG_6581 IMG_6582

IMG_6583

Mission 5 Part 2 Complete

English

How can you support Tim?

To complete this task we were asked to do this is a blog so Elsa created a blog post on this website.

Tim’s Blog

I then tweeted the link to Tim and he ‘liked’ it 🙂

Mission 5 Part 3 Complete

Elsa uploaded all her work to the Makewaves website and has been awarded her badge.

Living in Space